

The Best Way To Use Google Sheets For Blogging (or Excel!)
Last updated on 13 February 2023
This post may contain affiliate links. If you make a purchase with one of these links, I recieve a small commission at no additional cost to you. Read the full Affiliate Policy.
 This is hands down the best way to use Google Sheets for blogging.
Ah, Google Sheets. Released in 2006 as part of the Google Suite, accessible by anyone who has an internet connection, and best of all completely free to use, Google Sheets is a fantastic tool for those on-the-go figures. But did you know you can also use Google Sheets for blogging?
This was the best thing I started doing for my blog. Hands down. Before I figured out that I could be using Google Sheets for blogging, I was scribbling on pieces of paper, had a thousand notebooks on the go (okay, not a thousand, but several!), PostIt notes were stuck to every surface and everything was a complete mess.
Enter: Google Sheets.
Now everything is ogranised. It’s colour coded, it has tick boxes, and pages sorted into my most used sections. It has structure.
By this point you may still be wondering how I use Google Sheets for blogging … and I’ll tell you: blog planning.
So simple, and get it took me a long time to transition to a digital planner. But now that I have, everything is much easier, much faster, and much more satisfying.
In this post, I’m going to show you how I do it (and if you stay till the end, there’s a sneaky discount code to get your hands on your very own Google Sheets planner!), and the benefit of some of the Google Sheets features.

A quick overview of how I use Google Sheets for blogging
My blog content planner is done on Google Sheets. It currently contains 6 tabs: Content Planner for the year broken into months, an Instagram planning sheet, a Reels planning sheet, a brain dump sheet for spilling out ideas into, an Email Marketing sheet, a Days of Note page (for seeing what days in the calendar I might be able to utilise – like International Tabletop Day!), and a stats tracking page. There are a few others for specific projects I have going on, but those are the main ones.
Each month I fill out my planner with the ideas I’m going to turn into posts (for both my blog and for social media), and then I get to create. As I’ve drafted, scheduled, and published each blog post, I check tick boxes to keep myself organised.
It’s hands down one of the best things I started doing.
So! Here are a few benefits to using Google Sheets for blogging.
Multiple Sheets
The joys of Google Sheets is that you can create different sheets (or spreadsheets, or tabs) for various sections. For example, one sheet might be for your Year Planner, one might be for a Month, a Week. You might have a brain dumping page, and a place to track your stats etc. Each sheet you create is a separate aspect of your blog planning, and it’s all in the same hand place. You can even colour code your tabs for easy discovery!
Tick Boxes
This is one of the reasons I don’t like using Excel and much prefer Google Sheets: the tick boxes. While in Excel you can insert a tick/check box, it’s clunky, not user-friendly and it’s an actual nightmare to check things off. In Google Sheets? Super easy!
You can use tick boxes to indicate when you’ve drafted, written, and published a post, for example, which means you can quickly glance down a list of items and figure out what’s next in line to do.
Filter
With just a few clicks you can set up a filter. Those tick boxes we just talked about? If you want to sort your lines by posts you’ve already published, you can click a filter and it will automatically sort the lines to your specifications. Perhaps you want to see which posts you still need to publish, or which social media posts did the best (if you’re tracking your stats – highly recommend it!). You can create filters for basically anything, it’s a really quick and easy way to sort your ideas.
Conditional Formatting
Now before you get scared off, Conditional Formatting just means that you set up some rules that make your Google Sheets cells to particular things. For example, perhaps I want every cell that contains the word Blogging Tips to be filled in with green. I can create a rule (or Conditional Formatting) that tells Google Sheets to colour in every cell that contains those words. Or perhaps I want Sheets to highlight a cell that has a value of more than 100. Or maybe I want to find duplicates of information … the list is near endless of what you can do with Conditional Formatting. And it’s incredibly easy to use.
Head on up to Format > Conditional Formatting > then you can set the rule.
Commenting
While it’s just me using my Google Sheets for blogging, I do like to add comments for Future Anjali to look at. Perhaps I’ve inserted a blog post idea for 3 months from now. When Future Me gets to that month I see that idea, I might have forgotten the details, or why I wanted to post it at that time. By inserting a Comment, I can easily tell myself why I did what I did.
Inserting other features
As well as letters and numbers, you can insert Charts, Links, Functions, Images, Drawings, Forms … like all of the Google Suite, Sheets has the ability to be connected with other documents in your Drive, and create new ones.
And heaps more!
If you’re ready to discover the wonders of using Google Sheets for blogging, then do I have something for you!
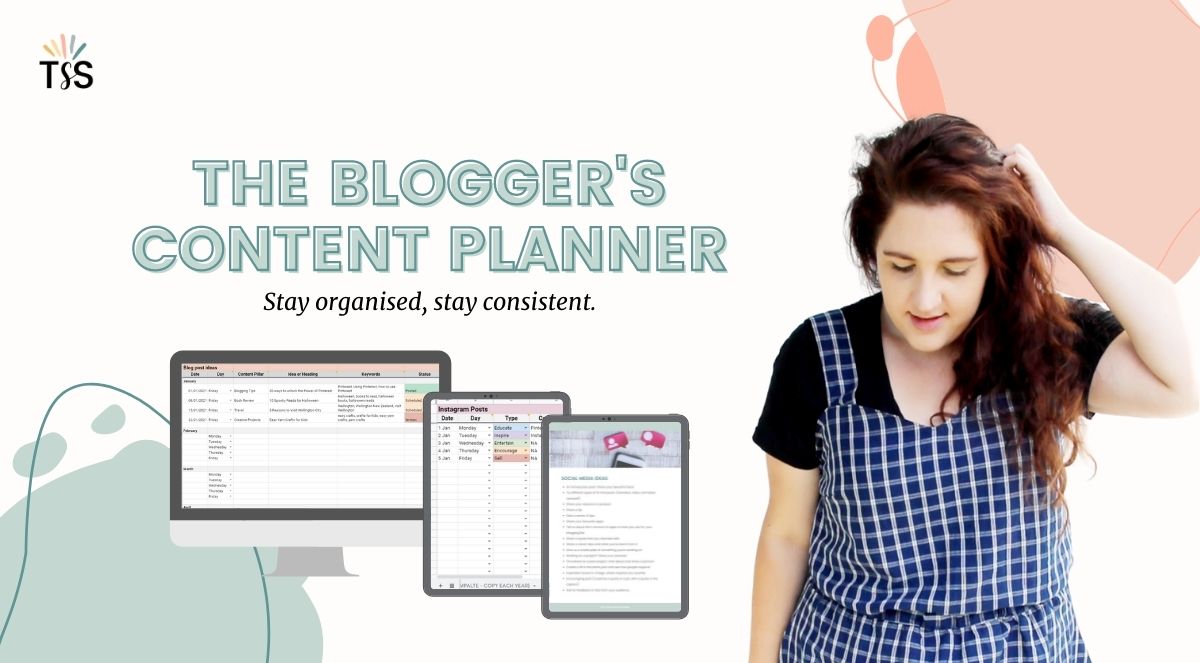
If you:
- Struggle to be consistent with your blog posts
- Don’t know what to post on social media
- Find yourself frantically posting mediocre content because you ran out of time
- Have post-it notes or ideas scribbled in the margins of notebooks or stored in random places on your phone …
Then you’re in need of a blogging content planner!
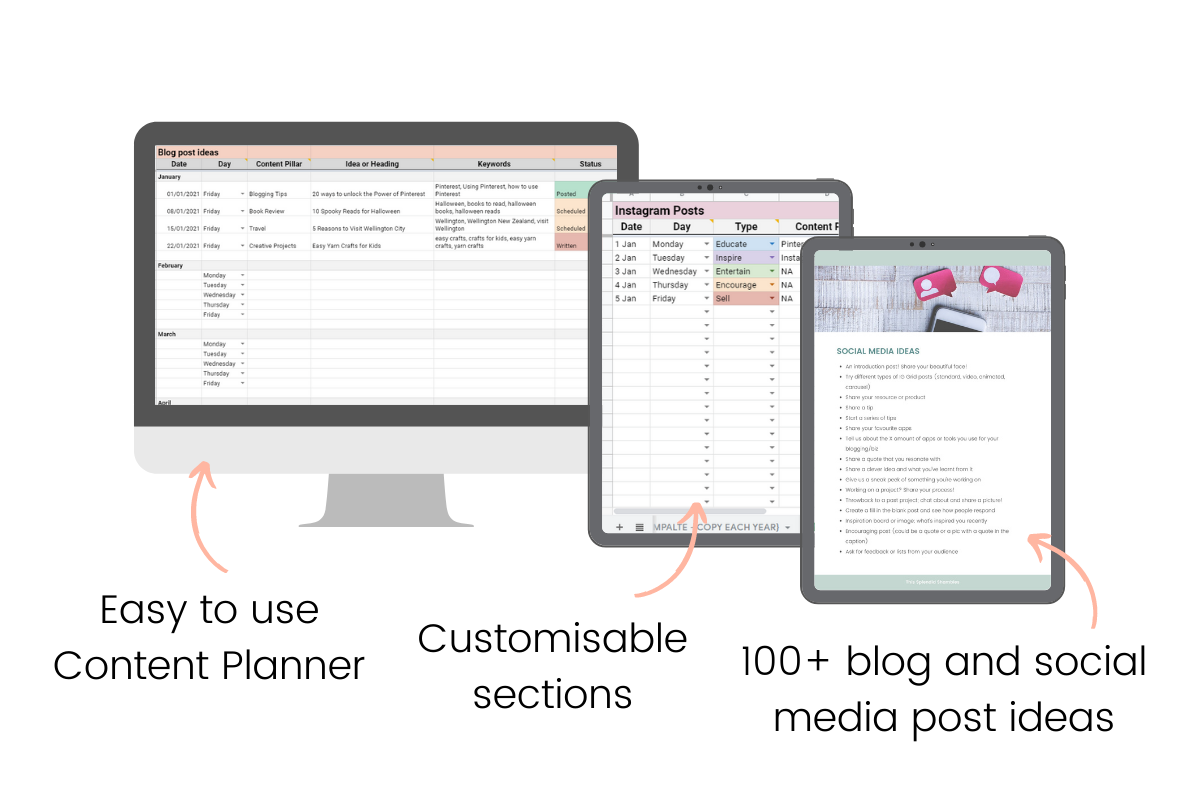
In the Blogger’s Content Planner
In this Google Sheets blog planner, you’ll be able to confidently plan out your month for your blog and social media, as well as have a place to brain dump ideas, get inspiration and even have access to over 100 blog and social media post ideas to get you going.
Do you use Google Sheets for blogging? Now you do!

Anjali Kay
Anjali Kay is an Aotearoa New Zealand-based blogger and book lover sharing travel inspiration, bookish posts, the occasional creative project, and a lot of practical blogging tips here at This Splendid Shambles. Based in Auckland, she's been writing book reviews and travel posts, sharing creative projects and blogging tips since she started her first blog in 2009. When she's not working on her own blog, Anjali also offers blog coaching and support for bloggers who want real guidance from someone who's actually done the work, and is a few chapters ahead of them.


Having fun? Check out these posts!

The Honest Cons of Blogging (and Why I Still Think It’s Worth It)

Inside my Blogging Membership: What we Actually Work on Each Month
