

DIY Paper Beads
This post may contain affiliate links. If you make a purchase with one of these links, I recieve a small commission at no additional cost to you. Read the full Affiliate Policy.

You’ve probably seen these DIY Paper Beads before. My mum has some necklaces with these sorts of beads (though they are a slightly different shape), and I thought it would be fun to try and make some. I made these last year, but lately I’ve been thinking I should have another go at them. But, for now, here’s what you’ll need:
What you’ll need to DIY Paper Beads:
Magazines – ones you don’t mind cutting up
Scissors
Glue – something like PVA or Mod
Podge, or some form of craft glue that dries clear
A small bowl – or something to put the glue in
A small paintbrush
Tooth picks, or cocktail sticks
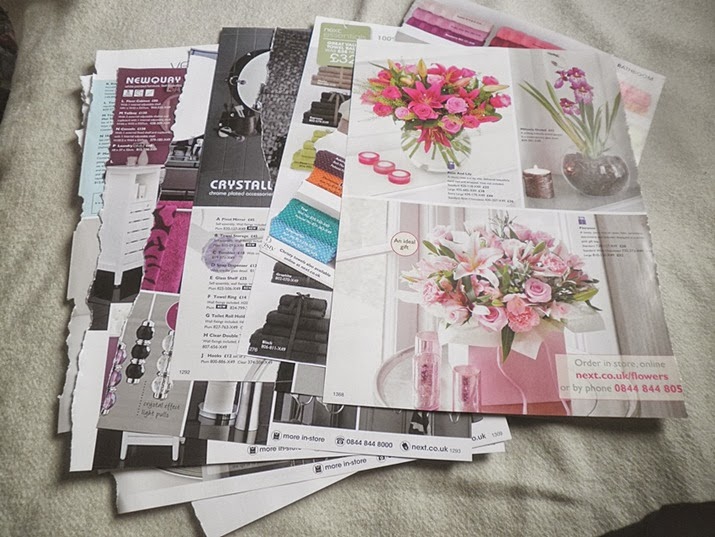
1. First, tear out some pages of magazine. You want pages that have interesting colours at the top or the bottom of the page, because that’s what will show up when we make the beads. I actually didn’t use many of these pages. You can just see the page under the top page, which is a page of colourful towels all lined up. I used pages like that because they had lots of colour on them.
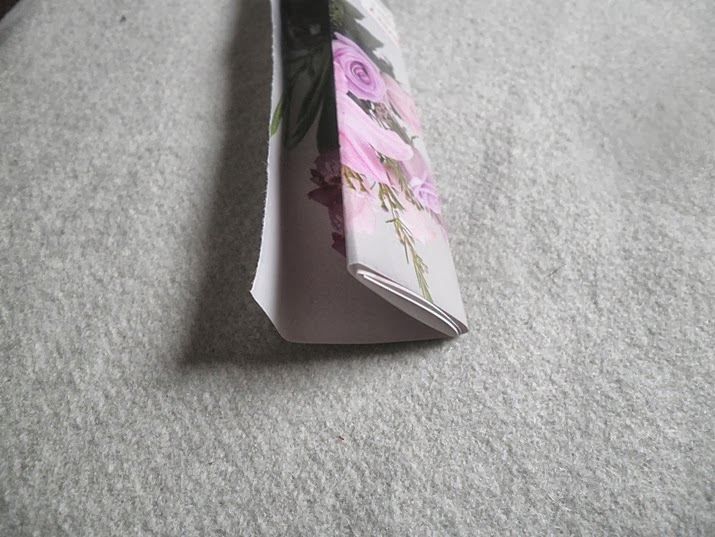
2. Next you want to cut out stripsof magazine. The easiest way to do this is to fold the magazine page, and then cut, that way you get straight lines and also they are all the same (or very similar) width; you probably want them about 1-2cm wide.
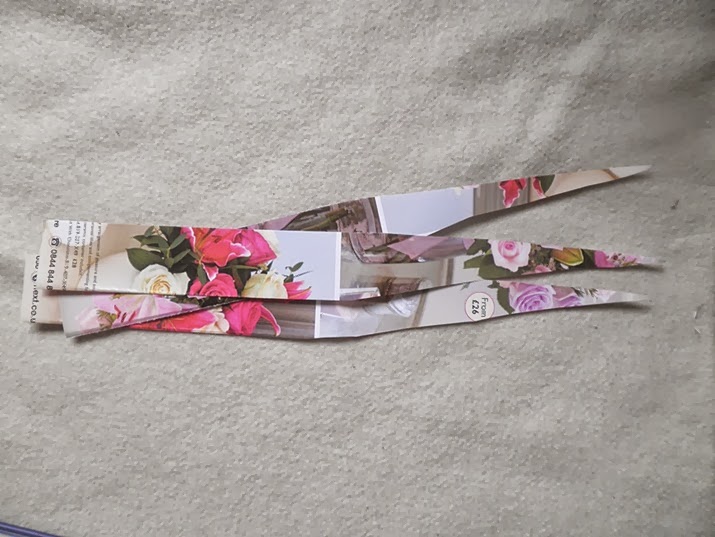
3. Now you want to cut the ends of the strips into sort of triangle shapes, or pointed at the end. The ones in this picture aren’t very straight, as I’m lousy at cutting in a straight line.
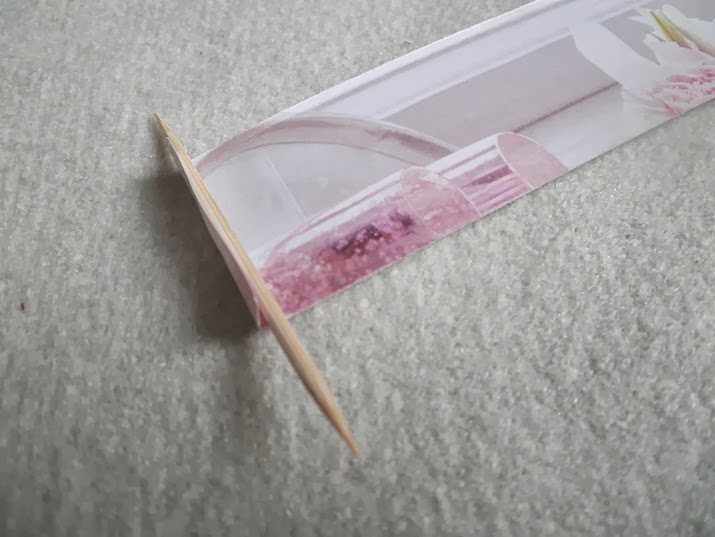
4. Then take a tooth pick/cocktail stick and put it at the wider end of the strip, like so:
5. It’s rolling time! Remember, you want to roll it so the colour you want to show the most is on the outside, so roll the tooth pick in the ‘bad’ side. This can be a bit fiddly. You want it as tight as possible, but at the same time, loose enough that you’ll be able to get the stick out later. You may have to have a couple of go’s.
6. Stop rolling when you get to the part of the strip where it starts shrinking down to the point, about this far:
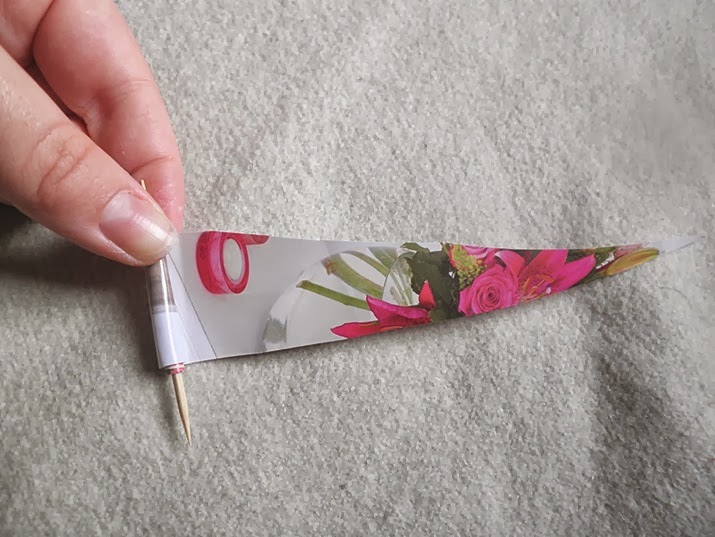
7. Now it’s gluing time. I found the easiest way is to squirt some glue onto a plate/bowl/whatever it is you’re going to be using, and then grab a paint brush to apply it.
8. Spread some glue on the end half of the strip, from where your rolling stopped to the end of the point. You want to make sure that especially the end part has a good lot of glue on it.
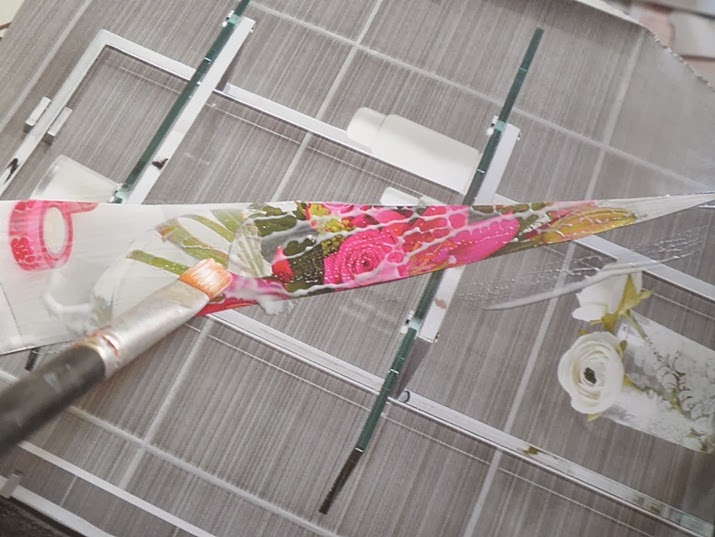
9. Now you want to continue rolling up your bead. You’re going to get glue on your fingers, but that’s part of the fun.
10. When you’ve rolled it all up, take your paint brush again and just spread a thin layer of glue over the entire bead.
Tip: When you do this, try to get as little glue on the stick as possible. You don’t want the bead sticking to the stick.
Then prop your bead and stick up somewhere where the bead isn’t touching anything, otherwise it will stick to things. I used the inside of a box lid.
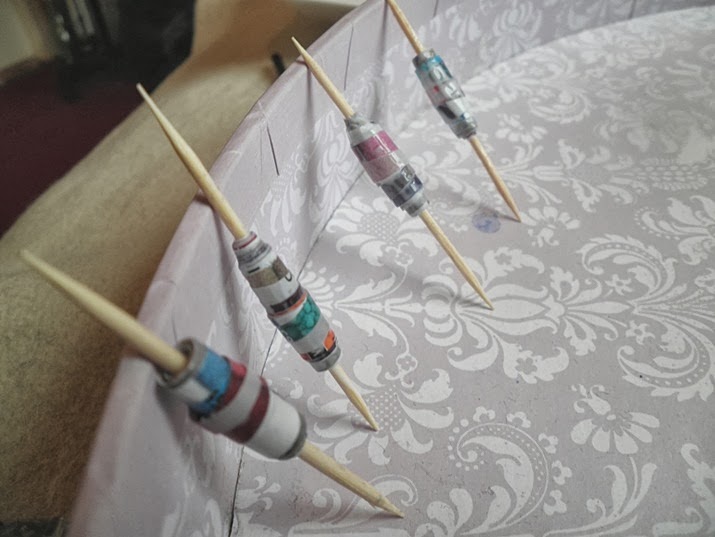
11. Wait for it to dry. When it’s dry (or nearly dry), spread another layer of glue on it, just for good measure. And once that layer is dry, gently pull the bead off the stick.
Tip: If the bead doesn’t slip off easily, try giving it a gentle twist, the bead twisting in one direction, the stick in the other. I found a bead or two had stuck to the stick, so it took a little bit of jiggling to get it to come off.
So, there we have it! Now you have lots of beads that you have made by recycling. Save the planet – make paper beads.
Happy paper-bead making!

Anjali Kay
Anjali Kay is an Aotearoa New Zealand-based blogger and book lover sharing travel inspiration, bookish posts, the occasional creative project, and a lot of practical blogging tips here at This Splendid Shambles. Based in Auckland, she's been writing book reviews and travel posts, sharing creative projects and blogging tips since she started her first blog in 2009. When she's not working on her own blog, Anjali also offers blog coaching and support for bloggers who want real guidance from someone who's actually done the work, and is a few chapters ahead of them.


Having fun? Check out these posts!
Let’s Talk About | My Bullet Journal Fail

Free Printable :: Creativity
