

D.I.Y Light Box…
Last updated on 21 April 2016
This post may contain affiliate links. If you make a purchase with one of these links, I recieve a small commission at no additional cost to you. Read the full Affiliate Policy.

What you’ll need:


2. Once you’ve cut out the sides, grab your tissue paper and cut it out so it sits nicely over the hollow sides you just made. Make sure it overlaps the edges a bit; you don’t want gaps. If you have thin tissue paper, you may want to use several layers. I suggest doing it one layer at a time and then see what you think. I ended up using three layers, and I think that that’s pretty good. If your tissue paper is thicker, two layers will do it…even one perhaps. Have a play, see what you think. Take your tape and tape the tissue paper to the box, one side at a time.

It will look a bit like this on the inside when you’ve stuck it all on:

3. Next you want to grab your piece of white card. If you need to cut it so it’s the right width, do that. You also want it to be the right length. I made mine a little too short…which is super annoying now, but I’ll deal with that another day when I can be bothered. Slide the piece of card in and secure it at the with some tape. You want to make a sort of slope with the card, so when you take a picture you don’t have a hard line where the two edges of the box meet. Make sense?

4. You may find that the bottom edge of the card is too long, even when you have a nice slope going on in there. If it’s too long, I suggest securing it with a bit of tape to the bottom edge, and then chopping off the end bit that’s too long. I made the mistake of chopping it too soon and then it was too short. Hence why you can see a line where I’ve stuck some extra card underneath. So be aware of that!

And then you’re done!
When you’re taking pictures, there are two ways you can do it. 1) grab some lamps, turn them on and point them to the sides of the box. You can play around with the light levels, and whether you have one, two or even three lights shining through the tissue paper. Option 2) Take the box to a light place in your home/work/studio and have the light coming from behind, that way the light will come in all sides.
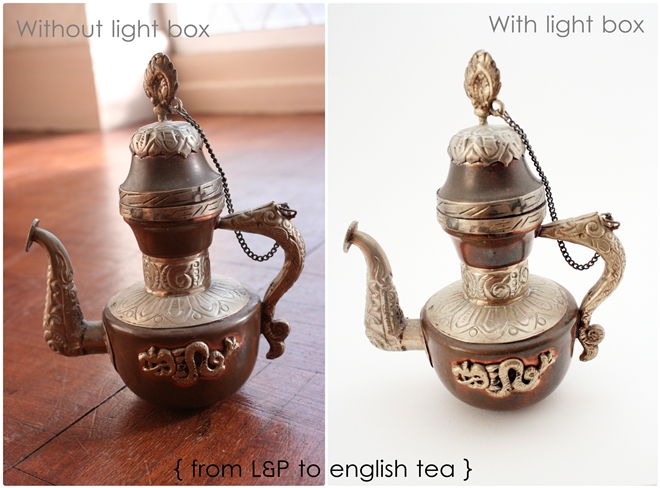
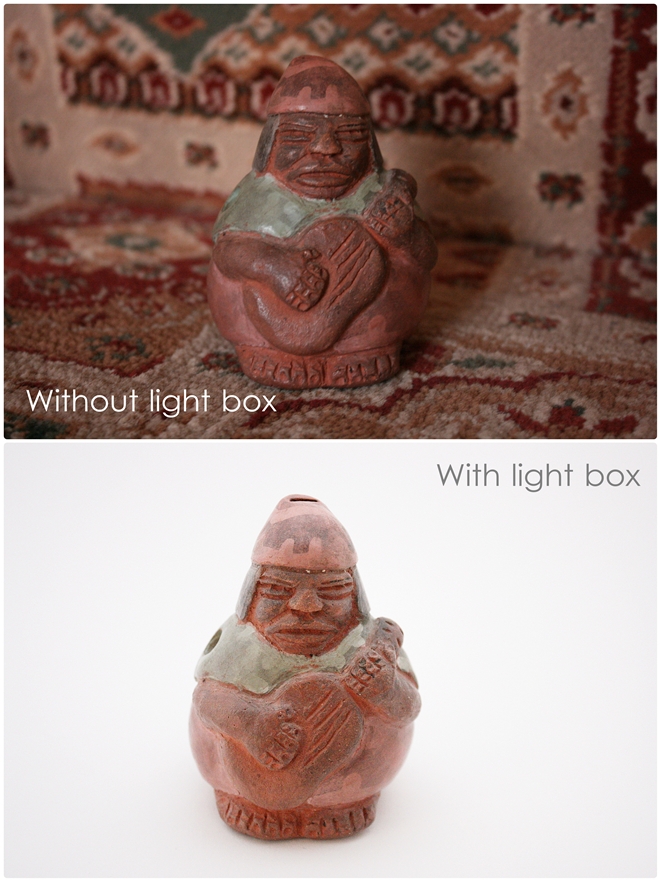
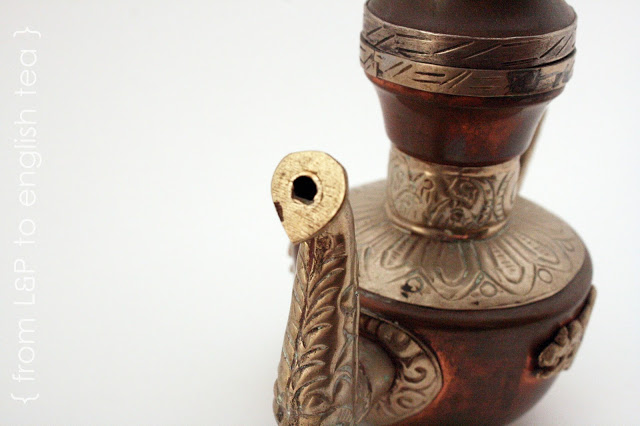
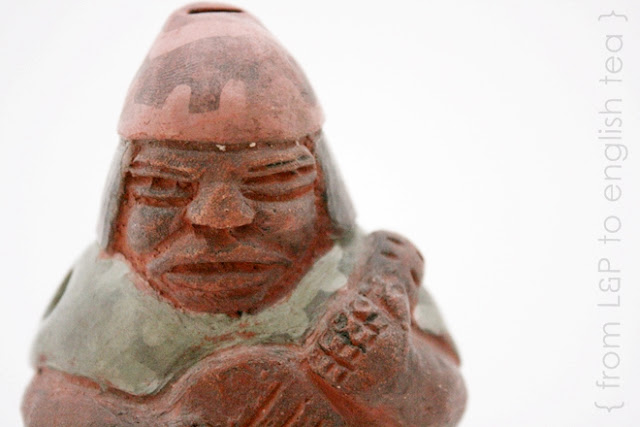
Whatever way you do it, you may need to play with the brightness on the computer, and perhaps the contrast too. I’ve taken a few example pictures for you, so you can see.

Anjali Kay
Anjali Kay is an Aotearoa New Zealand-based blogger and book lover sharing travel inspiration, bookish posts, the occasional creative project, and a lot of practical blogging tips here at This Splendid Shambles. Based in Auckland, she's been writing book reviews and travel posts, sharing creative projects and blogging tips since she started her first blog in 2009. When she's not working on her own blog, Anjali also offers blog coaching and support for bloggers who want real guidance from someone who's actually done the work, and is a few chapters ahead of them.

Having fun? Check out these posts!

Guest Post | A Guide to Furniture Reupholstering Fabrics

The Need for {DIY} Speed :: Memory Game Cards
