

Guest Post | Lauren Shares Her DIY Home
Last updated on 27 December 2024
This post may contain affiliate links. If you make a purchase with one of these links, I recieve a small commission at no additional cost to you. Read the full Affiliate Policy.
We love a good DIY home project!
Lauren and I have been friends for several years now, and one of the things that we talk about often is DIY projects. Whether they be huge ones for events she’s running (and I just happened to be around to help out) or just fun projects we’ve seen online and want to try out.
Despite the fact I love to craft and create, I don’t do a lot of it on a week to week basis, but Lauren does. Luckily for you guys, I talked her into sharing some of the projects she’s made for her home, as well as any mishaps she’s had along the way. All the photos in this post are from Lauren, but I have found a couple of links to similar projects, in case you want to try your hand at each one.
Let’s go!
DIY projects for your home
Basically, everywhere you look in my room there is something I’ve DIYd in some way. Don’t know how it happened. I spend far too much time watching DIY YouTube channels and far too much time on Pinterest. Most of the time I see something I like, think that I could totally make something like it and then do nothing. But occasionally I actually follow through.
In no particular order, because I honestly don’t remember when I did things, these are a few of the projects I have done. Also, I should say we are going to be fully renovating the house so I have no problem with destroying things, temporary measures and putting a lot of holes in my walls.

Macramé wall hanging
I say macramé but in reality, there’s not a lot of knotting going on so I don’t know if you can technically call it that. But I like the simpler designs.
This was the first one I did. I have a huge statement circular art artwork in my room so I wanted to bring a few more circles into my room. This was also my first foray into the burnt orange/ rust orange/terracotta colour. I am typically a black, white and dark blue colour scheme person.
These were incredibly simple and involved two metal hoops, yarn and the most basic knots. I had no idea what the knots were actually called so I looked them up. I used the larks head knot to attach the yarn at the top and then a plain old overhand knot to tie it off at the bottom. This Modern Wall Hanging in Black on Etsy was the inspiration.
Similar projects | Simple Yarn Wall Hanging and DIY Summer Hoop Wreath
Macramé pot hanger
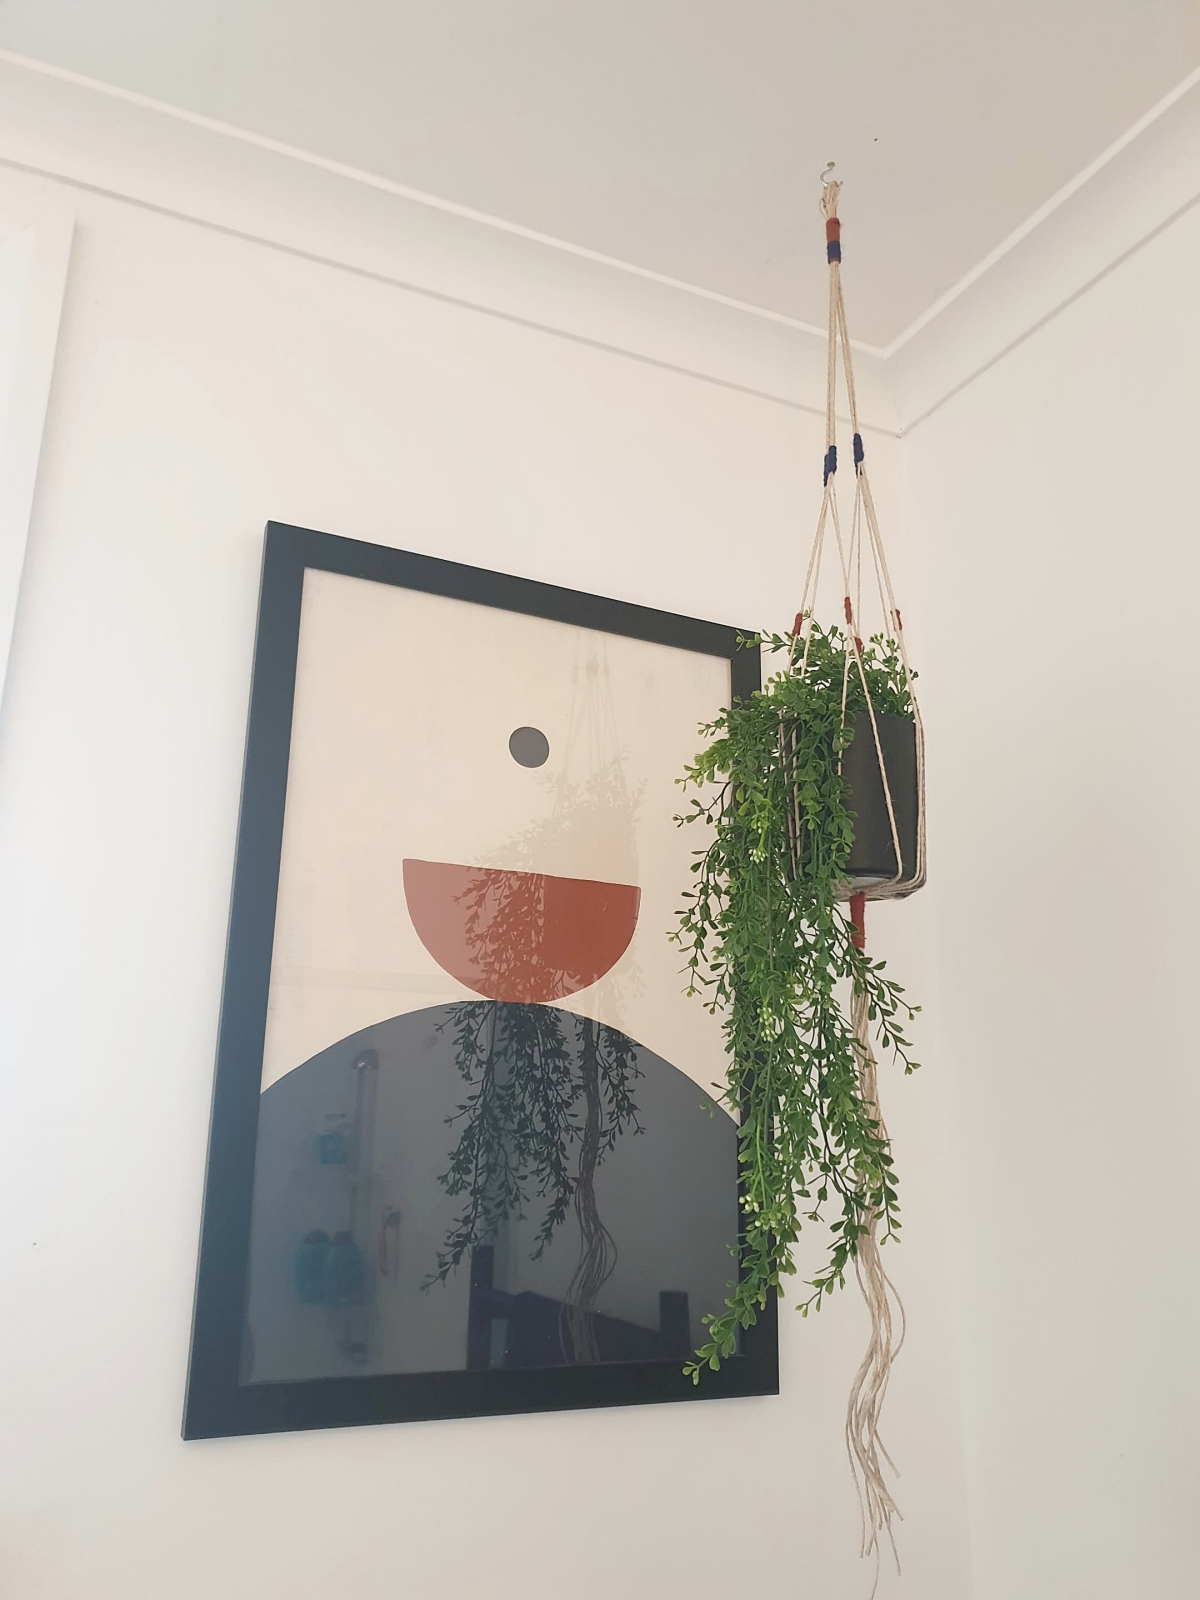
The next macramé project was this plant hanging above. It started out as a work-related project but hey it now lives in my bathroom. I sort of started out with a plan with this one but that was quickly thrown out the window. I miscounted and was one strand short of the pattern I wanted to do. Instead of starting again, I just rolled with it (I think I actually cut a few strands off to balance it up). I should have just started again. I had only done the first gathering knot, which has become my favourite knot. It’s a knot which basically means you’re wrapping the yarn in a way that the actual knot disappears under the wrapped yarn. It’s oddly satisfying.
So, since I had thrown out my plan I just winged it in terms of when to do more gathering knots, which strands to separate, and which to pull together so it would create some kind of secure basket for the pot to sit in.
Note to self though: don’t use jute string as the main stands. It retains its coiling shape which made it a pain to work with! Although the twisting tail that hangs from it now is fun.
Similar projects | Macrame Plant Hanger DIY
My most recent project is the one below. Again, simple but it took deceptively long to make. I had this annoying gap in my gallery wall and I saw something similar on Pinterest and figured it would fit perfectly. I just looped the lightest colour yarn I had over the wooden dowel, used gathering knots to create the blocks of colour and then untwisted or unfurled or whatever the strands to make the ends fluffier.
Similar projects | DIY Tassel Wall Hanging or Brushed Yarn Wall Hanging

Shelf Life
I don’t have much to say about this, but I thought it was worth sharing. I needed some shelves in my bedroom, and instead of buying some, I made exactly what I wanted. There were two things I knew I wanted: different lengths of wood for visual interest and no annoying joins. So, I went old school: I cut halfway up on one piece, halfway down on the other and then slotted them together.
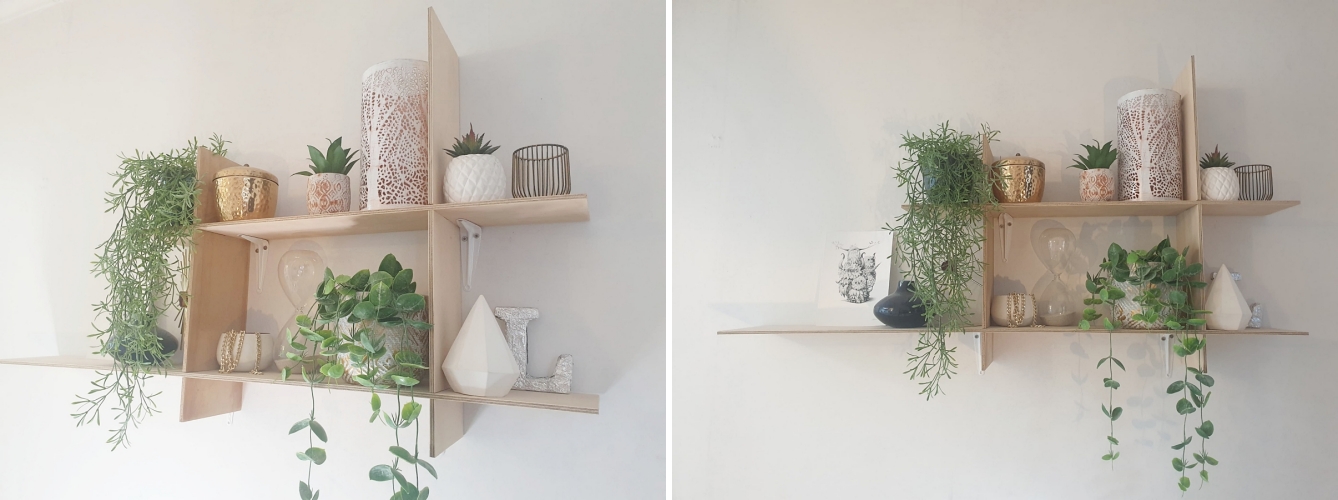
At the moment, I’ve just left them the natural wood colour, but I may stain them or paint them in the future. I left the bottom horizontal piece a little too long, so it droops a little. I need to put another bracket but I don’t particularly like the current ones I have so I’m waiting to find some I really like. In the meantime, I just don’t put anything heavy on that end. I followed this tutorial on YouTube by Lone Fox: DIY IKEA HACK Wooden Minimal Shelf with Rachel Metz.
Earring hanger
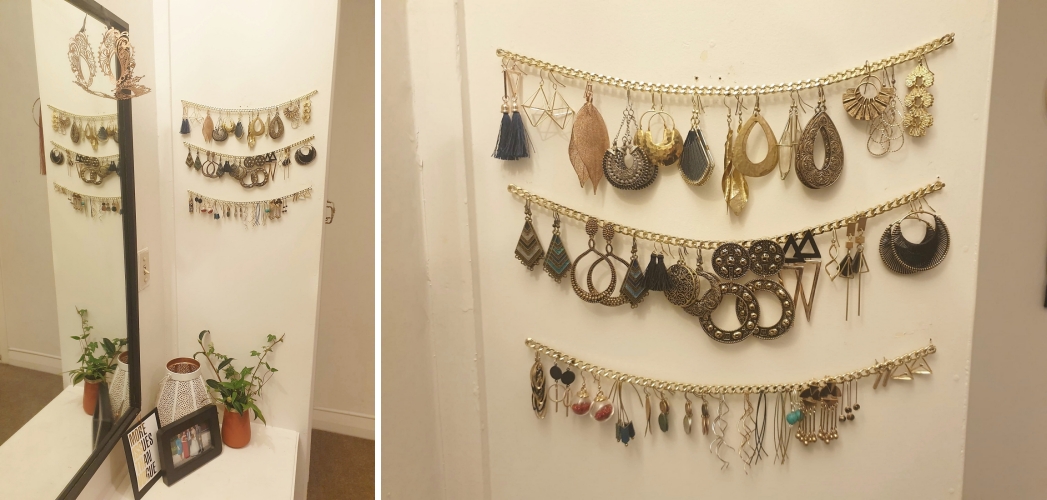
When one has this many earrings, one must find a way to organise them all.
I tried many different ways of organising my earrings (note the two nail holes above the chain) but I landed on this idea: a simple chunky gold chain. Also, side note, that mirror used to have no fame. It looked very old-fashioned, so that’s just wooden dowels painted black that I stuck to the mirror to create a frame. Side-side note, the whole measure twice cut once thing is real. Accidentally cut one piece too short so there is now a filler piece in one of the corners. Oh well. Everything will change once we start renovating our house.
Similar projects | Dangling Earring Chain display

Light shades
Some features of our house were pretty old-fashioned when we moved in, including all the light shades. I ignored them for a long time until the jute twine/raffia look pendant light craze started. I decided I liked them but, as is often my issue, I have expensive taste. Who knows if I’ll still like the style when we get around to redoing all the light fixtures in the house? So for the time being, I decided to create my own.
The first one (above) I did was this one that sits over my mirror hence why it’s not the most polished. I used two pieces of square dowel and a wooden embroidery hoop which I cut in half to create the frame and then I just wound a lot of jute string around it. Unfortunately, because I just used nails to secure the embroidery hoop to the dowel and not wood glue, the top half of the hoop has dropped and all the string has loosened.
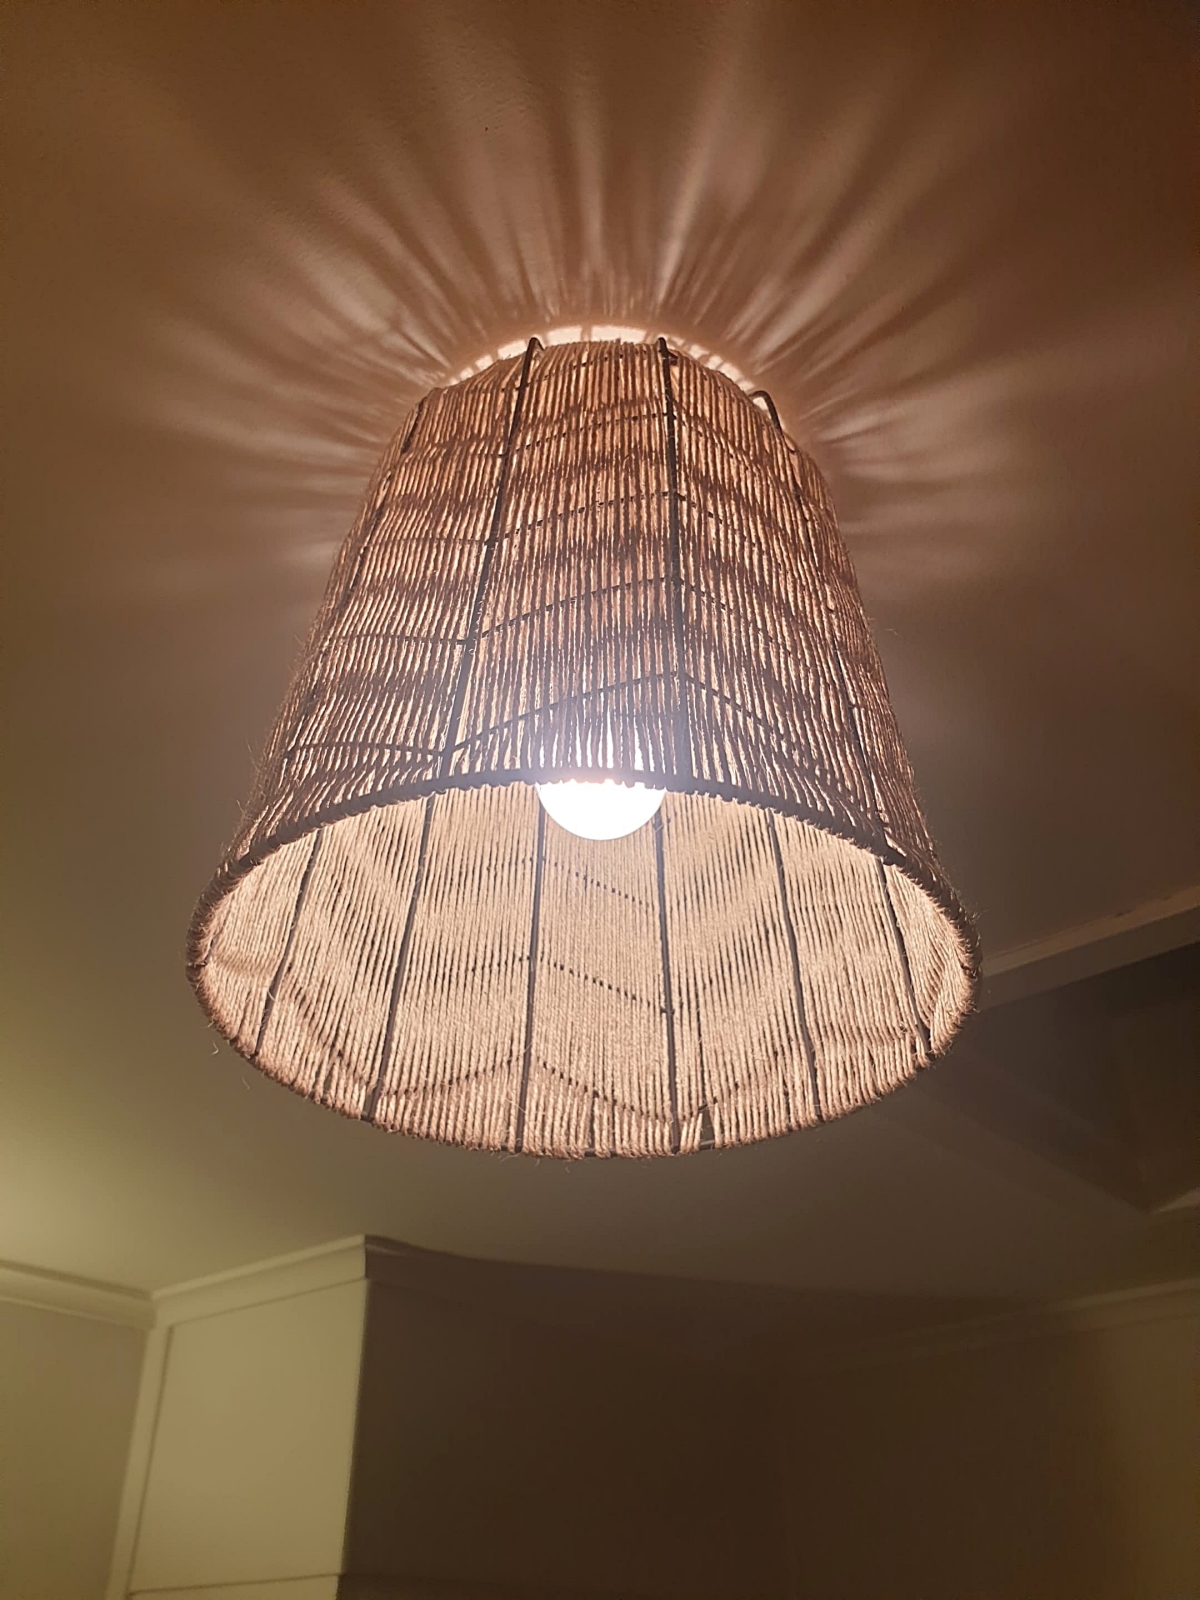
Tackling the main light fixture in my room (above) was painful and included smashing the glass fixture with a hammer (that part was fun) and then very slowly cutting the old metal bracket that held it in place. At least I learnt my lesson this time when it came to creating the new fixture, and I just picked up a basic wire rubbish bin from Kmart to use as the base structure. Weaving the string through the wires, however, took many more hours then I had originally thought.
Similar projects | DIY woven lamp and DIY Boho Tassel Chandelier and Easy DIY Raffia Pendant Lights
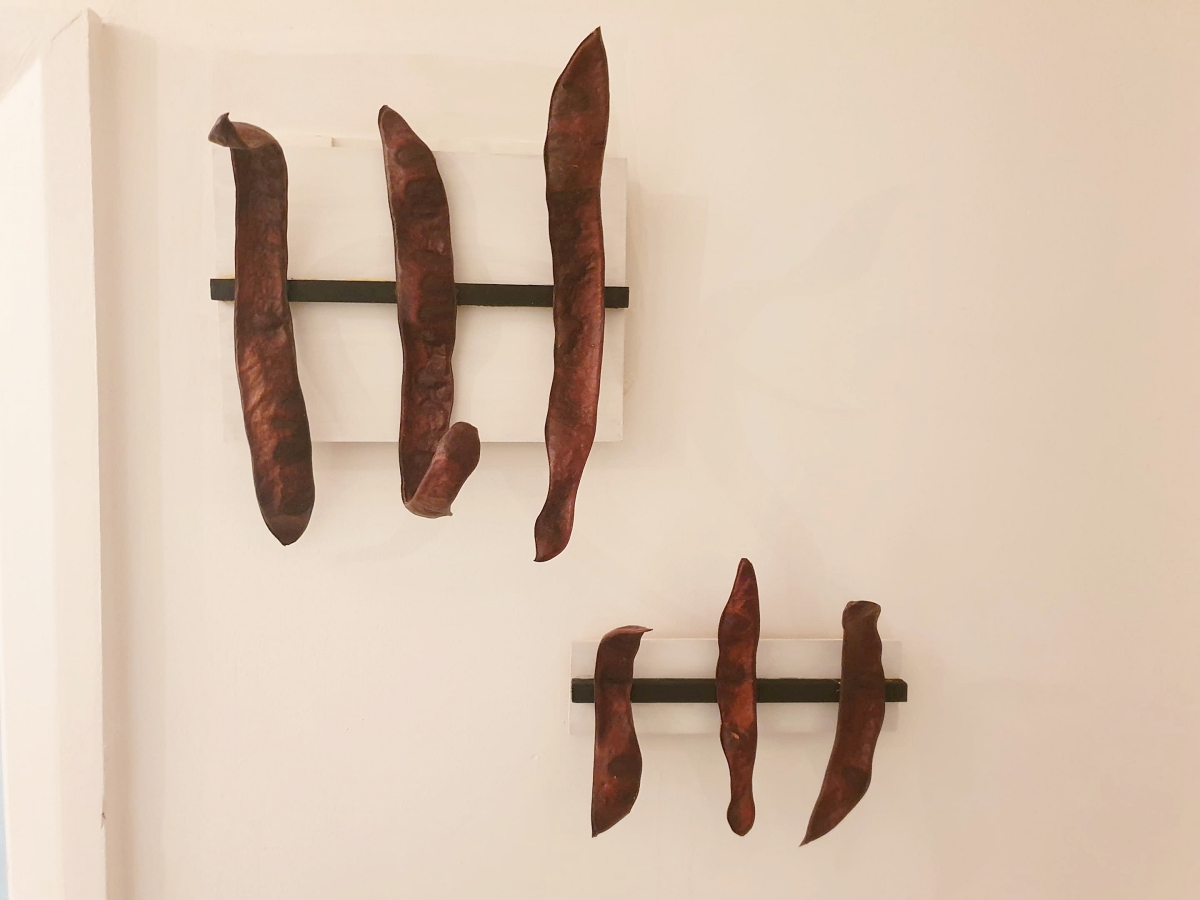
Giant Seed Pods
When life gives you giant seed pods make art right? I saw these seed pods on a walk and they reminded me of mid-century art. I decided to bring them home with me. Yes, my brother and sister-in-law looked at me very strangely as I walked around the park picking up the ones I liked and weren’t damaged. And no, my style is not mid-century but I like to throw a few random touches in every now and then.
Originally I was just going to attach the pods to the thin black strip of wood but there was an old heater bracket which I couldn’t remove in my bathroom where I wanted to put them so I had to put them on a larger panel which I painted to blend in with the wall as much as possible.
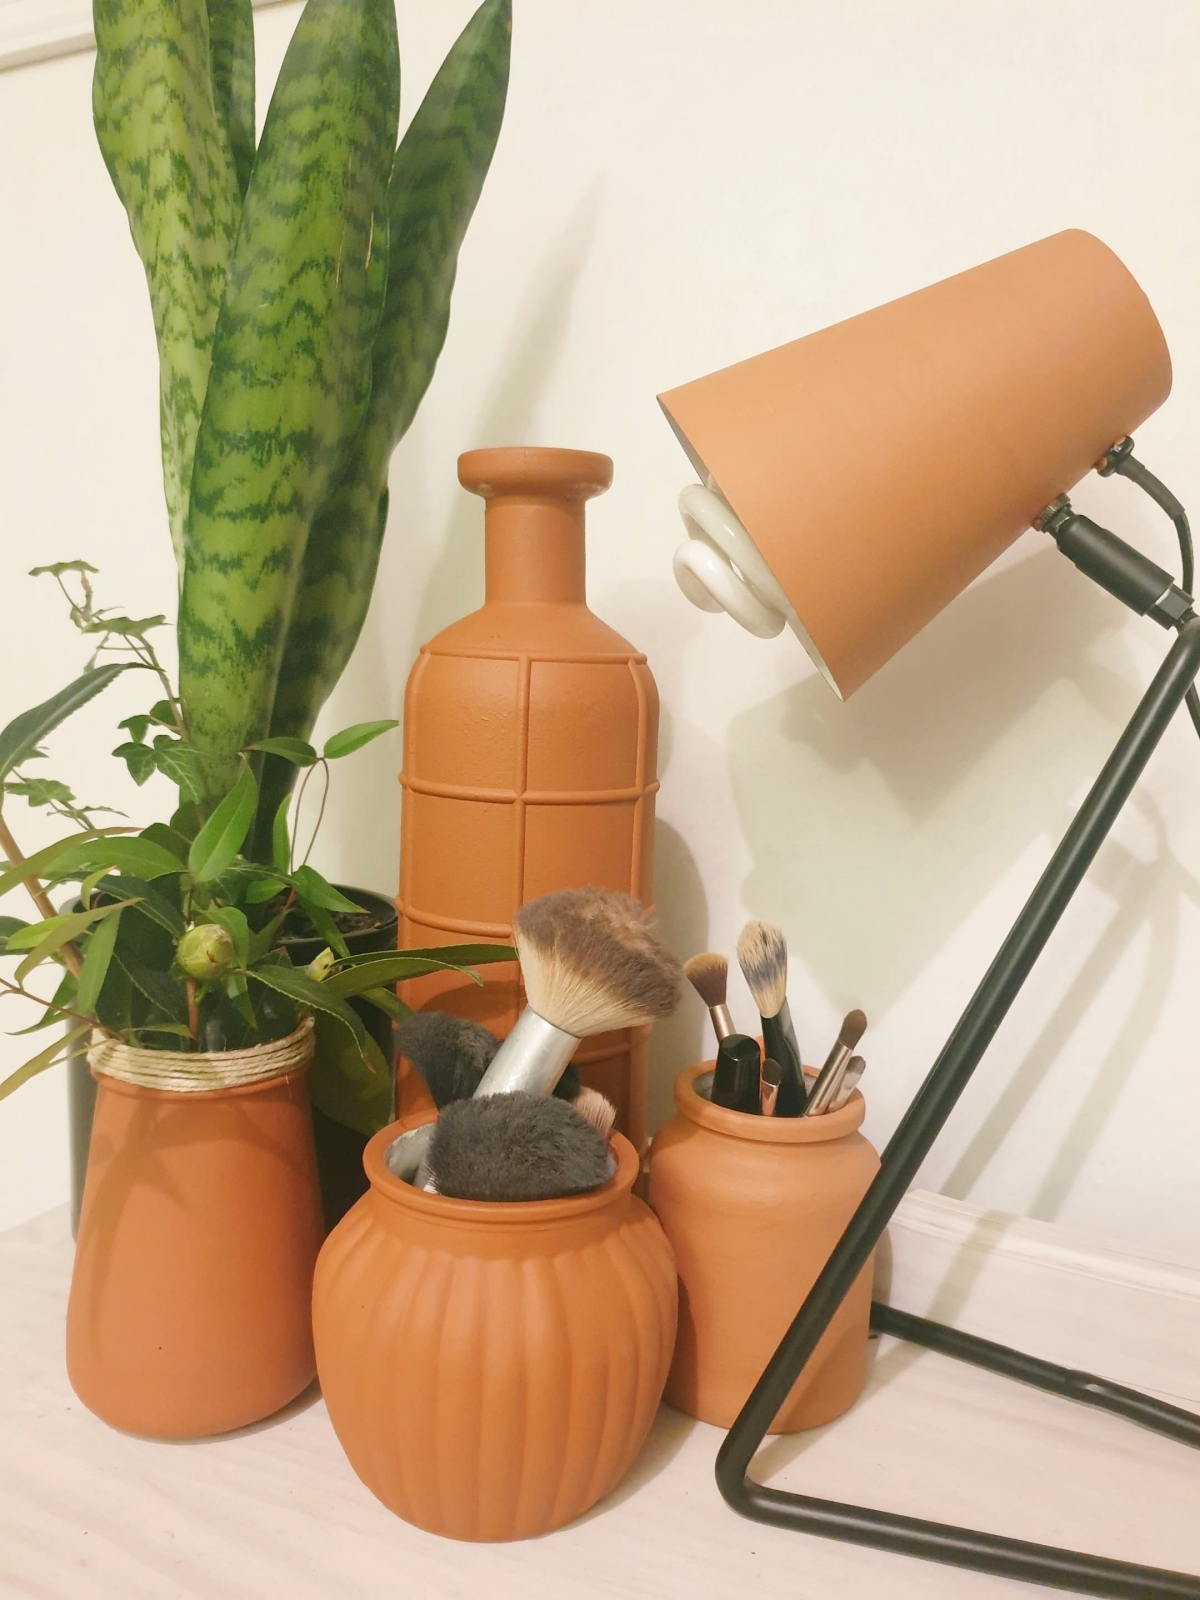
Terracotta Mania
Is it just me or is terracotta a thing at the moment? Anyway, I’ve decided I like it so I’ve incorporated it into my room colour scheme. Since we’ve been in lockdown here in New Zealand, and I can’t really go out and buy terracotta items, I just painted a few things in my room terracotta. And by a few things I mean two vases, my two make up brush jars, my everyday jewellery dish, my bedside lamp and my stationary jar. And for anyone that asks what I’ll do If I decide I don’t like terracotta in a few months (I’ve already been asked), I’ll just paint them a different colour. I already had two of my macramé pieces with rust/terracotta in them so I thought I should probably stop at that.
Similar projects | DIY Dipped Tableware using Liquid Terracotta
Every week I get a new photo from Lauren with something else she either created or altered (like the terracotta mania!). She’s definitely inspiring for craft ideas and actually getting things together to do.
Thank you, Lauren, for sharing with us your DIY home! Hopefully, these have given you some ideas for future projects! Let us know if you’ve either created items like these or try your hand at them after reading this post.

Anjali Kay
Anjali Kay is an Aotearoa New Zealand-based blogger and book lover sharing travel inspiration, bookish posts, the occasional creative project, and a lot of practical blogging tips here at This Splendid Shambles. Based in Auckland, she's been writing book reviews and travel posts, sharing creative projects and blogging tips since she started her first blog in 2009. When she's not working on her own blog, Anjali also offers blog coaching and support for bloggers who want real guidance from someone who's actually done the work, and is a few chapters ahead of them.


Having fun? Check out these posts!

Bonnie’s Corner :: DIY Kennel Edition…

DIY Wall Art :: Canvas, Scrabble and Library edition…
