

Halloween :: DIY Poison Bottle…
Last updated on 20 October 2021
This post may contain affiliate links. If you make a purchase with one of these links, I recieve a small commission at no additional cost to you. Read the full Affiliate Policy.

This DIY Halloween Poison Jar is super easy!
I mentioned the other day in the Jar Monsters post that I had another jar-related DIY to share with you, and this is it! I know that it says ‘bottle’ in the title, but really it’s a jar. If you have a bottle, this would look even better! I loved doing this DIY. It was so much fun and I’m really happy with how it turned out. It’s super duper easy and you don’t need anything special. Here’s how you make it:
What you need:
- A jar/bottle
- Hot Glue Gun (if you don’t have one, a thick glue with a thin nozzle should work fine)
- Black paint
- White, yellow, red paint (or colours of your choice)
- A paintbrush for painting the entire jar/bottle
- A coarse paintbrush for the dry brushing
Begin with your jar/bottle. Make sure it’s clean. If it’s got a label on it, you can either take it off, or leave it on. Or you could rip the edges. This will giev it a more rustic, creepy look at the end. Grab your hot glue gun and carefully write ‘poison’ (or whatever word you want) straight onto the bottle. If you can’t spell, like me, double check that before you write. 🙂
After it’s dry, paint the entire jar black. If your jar doesn’t have a black lid like mine did, you can either glue black paper or felt or crepe paper over it. You can do this while waiting for the paint to dry.
Once it’s fully dry, grab your coarse paintbrush. I suggest using an old paintbrush that has really hard bristles. You’re going to be dry brushing the paint on, which means you’re not going to use any water. If you haven’t done this before, it’s really simple. With only the smallest amount of paint on your dry paintbrush, your basically going to be rubbing the paint onto the bottle. It’s not really painting, as it’s not smooth and your not using strokes. Imagine if you had an itch. The movement you make to scratch it? That’s what you’re going for here. I hope that makes sense.

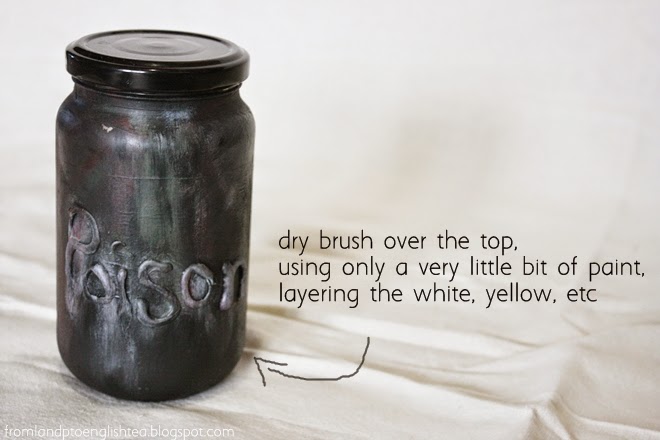
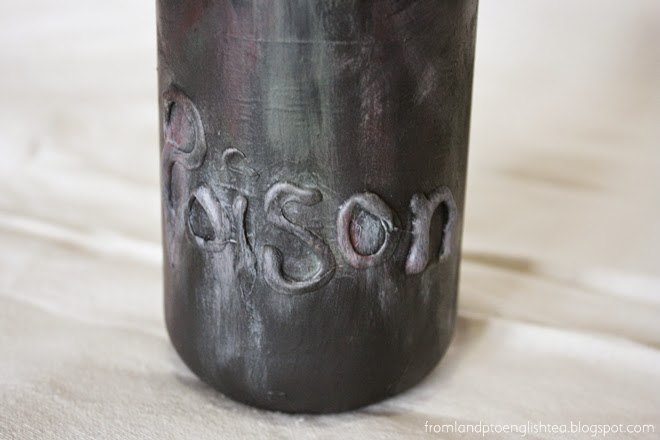
Because there’s so little paint on your brush, you’re going to need to put more paint on it regularly. But only a little! Rub/scratch the paint into the cracks in the words, and around the jar. Keep using this technique, layering up your colours. I used white, yellow and red, and then at the end went back in with a little black. Be careful if you do red paint, because it will have the tendency to turn pick on with the white if you have it on too thickly.
Once you have it looking like how you want it, you’re done! One poison bottle for Halloween!


Anjali Kay
Anjali Kay is an Aotearoa New Zealand-based blogger and book lover sharing travel inspiration, bookish posts, the occasional creative project, and a lot of practical blogging tips here at This Splendid Shambles. Based in Auckland, she's been writing book reviews and travel posts, sharing creative projects and blogging tips since she started her first blog in 2009. When she's not working on her own blog, Anjali also offers blog coaching and support for bloggers who want real guidance from someone who's actually done the work, and is a few chapters ahead of them.


Having fun? Check out these posts!

DIY Notebook

DIY Upcycle Pillowcase to Peg Bag
