

DIY Embroidery Hair Comb…
Last updated on 21 April 2016
This post may contain affiliate links. If you make a purchase with one of these links, I recieve a small commission at no additional cost to you. Read the full Affiliate Policy.
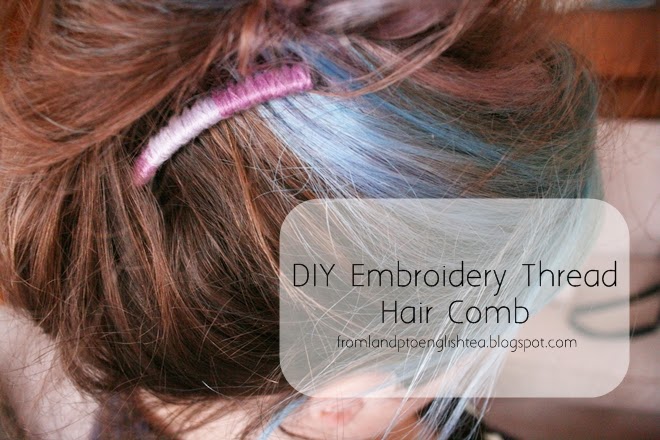
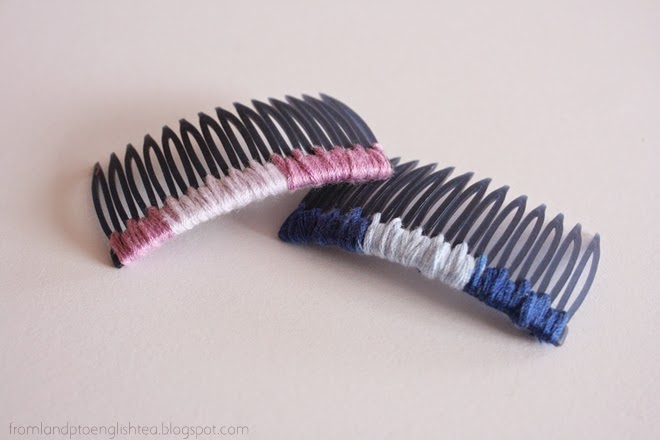
A little while ago I was given a bunch of bits and pieces from someone who was clearing out her house and wanted to get rid of some stuff. Included in the bag were these two hair combs. They are just a dark blue colour, so I wanted to make them a little prettier, and ones that I would actually wear. I’ve never worn these types of hair accessories, but I really like the idea of having a little something something in my hair.
What I did was really really simple and easy, and didn’t take any time at all. All you need is some plain hair combs, some embroidery thread and a needle. That’s all.

The first thing you want to do (after threading your needle with your thread), is thread your needle through the first enclosed hole. You’ll notice that your comb, if it’s the same as mine here, will have gaps in the arms (for want of a better word). Pop your needle through there and pull your thread through. Tie a knot so it holds. If you do this without cutting it (leaving it as a whole thing of thread…no cutting), then you’ll have a nice long section of thread at the back. You’ll need this in a minute.

Now it’s as simple as threading in and out of the comb, covering up the line at the top. With the long piece of string that you’ll hopefully have at the back, hold it in the hand that you’re not using to do the threading, and when you thread your embroidery thread through and over, do it so that long section is under all the loops you’re doing. Make sense? Hopefully this picture makes sense:

When I was threading, I alternated which comb ‘arms’ I went through. For example, I went through the first one, then the second one, then back to the first, back to the second. Then I went to the third, back to the second, to the third…and then the fourth. you don’t have to do it that way, but I found it was the best way to get the comb completely covered.
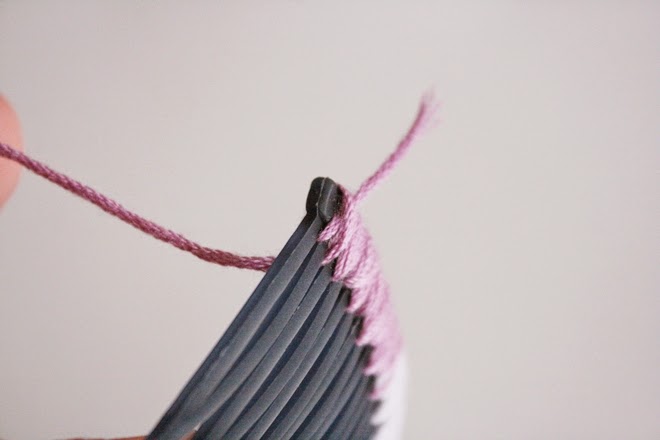
When you get to the end, tie a knot with the two pieces (the piece you’ve been using to weave through the comb, and the longer piece which should be now at the other end too, as it would have been under all the weaves you did) at the back of the comb, so it’s not seen on the outside. Trim the shorter end, right near the knot, and then, with your needle still threaded, thread the needle under some of the weaves (still at the back) just to make it a little more secure, and to pull the knot a little under the back sections of thread. Cut it off, and you’re done.

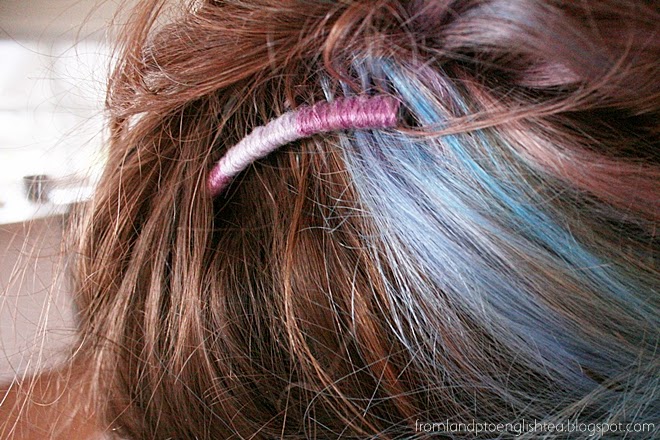
See? You can’t even see the knot. It’s there at the end and the end of the thread is hidden under the other thread.


Anjali Kay
Anjali Kay is an Aotearoa New Zealand-based blogger and book lover sharing travel inspiration, bookish posts, the occasional creative project, and a lot of practical blogging tips here at This Splendid Shambles. Based in Auckland, she's been writing book reviews and travel posts, sharing creative projects and blogging tips since she started her first blog in 2009. When she's not working on her own blog, Anjali also offers blog coaching and support for bloggers who want real guidance from someone who's actually done the work, and is a few chapters ahead of them.


Having fun? Check out these posts!

Halloween :: DIY Felt Fridge Magnets…

DIY Upcycle Pillowcase to Peg Bag
