

DIY // Calico Quote Cushion Cover…
Last updated on 21 April 2016
This post may contain affiliate links. If you make a purchase with one of these links, I recieve a small commission at no additional cost to you. Read the full Affiliate Policy.
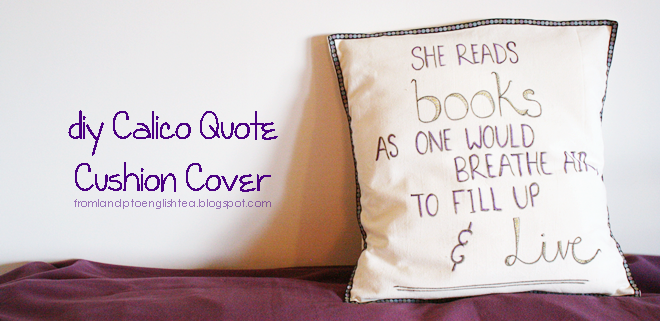
Woah! Try saying that many times over. When I was in the UK, I bought a calico table cloth because I had plans for painting it and using it as a back drop for something, but I never ended up doing it. So it remained unused in a bag until I found while I was unpacking. I really wanted to paint or draw or write or stick something on it, but couldn’t really figured out what or what for.
I didn’t actually need another table cloth, so I knew it was going to be more of a ‘chop it up and see what you can do with it’ type of dealio. And then I remember we still had some unused cushions that we bought at Ikea before we left, and how I really wanted a cool feature cushion. My brain started working on overdrive and this is what I came up with! It was super easy, and though it was a little fiddly with the ribbon on the edges at times, I really like how it came out. You can use this DIY for any cushion cover really, but I’m going to specifically talk as if you’re going to write a quote on it. Okay?
What you’ll need:
A cushion
calico
sciccors
sewing machine
things to decorate it with (fabric markers, ribbon etc etc)
The first thing you may want to do is iron your material. Mine had been folded for about 6 months, so it was super hard to get the creases out. And I didn’t even really manage it. I just gave it a quick iron to get the worst of it. Lie it flat somewhere so you can cut it.
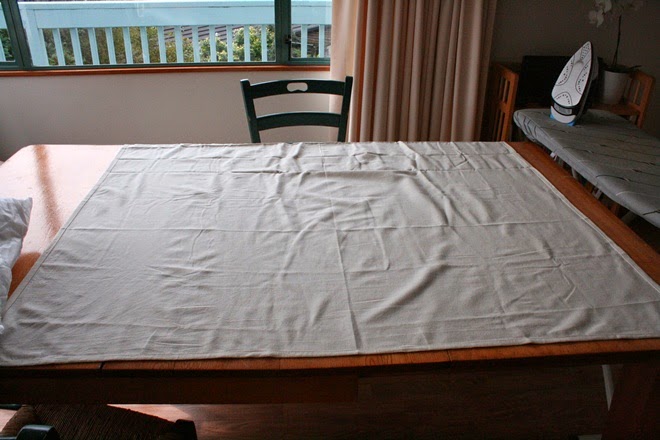
You could measure it with a measuring tape if you’re that way included, but because it was only a single straight (ish) cut, I just lay my cushion on it to get the general size. You’ll need to cut twice as big as your cushion (as you’ll just fold the material to create the two sides), plus a little bit. The little bit is going to be so you don’t need a zip or Velcro. If you have used a piece of material that doesn’t have a hem already (like mine did), hem the short side edges of your rectangular piece of fabric. One of these sides is going to be seen at the back of the cushion, and the other, while underneath the rest of the fabric, you don’t want fraying when you are putting cushions in and pulling them out again.
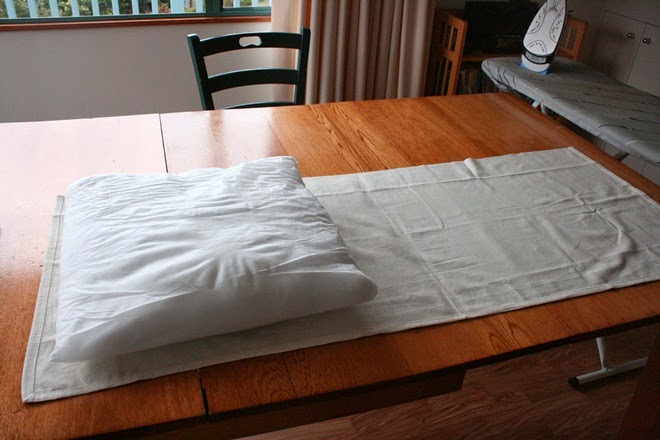
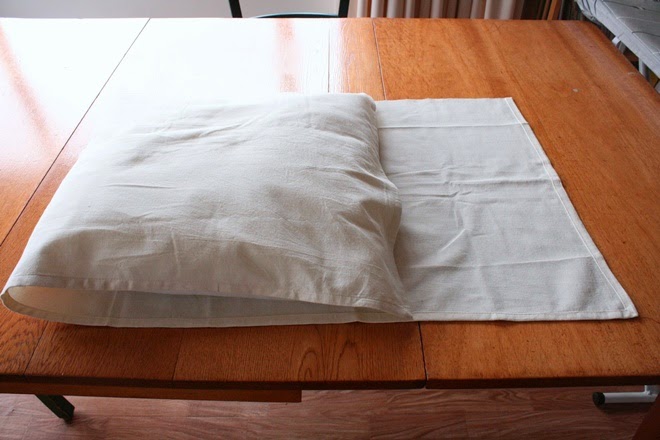
Once you’ve got your piece hemmed, place it right side down, and fold the two sides into the middle, to cover your cushion. One side will overlap the over, because of the extra bit, which is what you want. Like wrapping a present. Don’t fold it over too tightly, especially if you plan to put an edge on it like I did. You want to be able to actually put the cushion in there when it’s all sewed up. Pull the cushion out carefully, readjust the sides so they are straight again. Here, I would place the cushion just on top to double check the size again, in case it’s gone a bit askew.
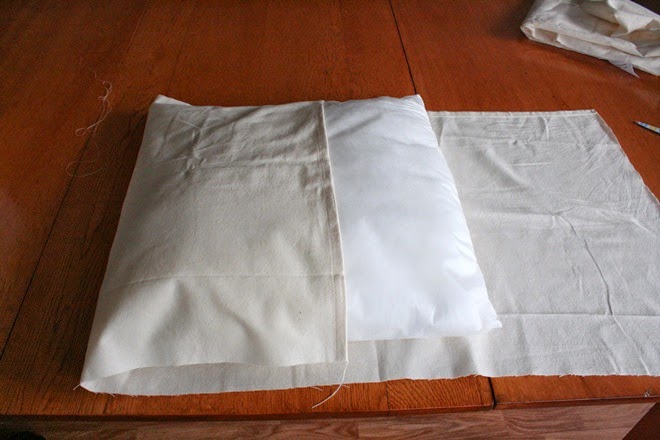
This next picture may seem a bit confusing, but it should look something like this:
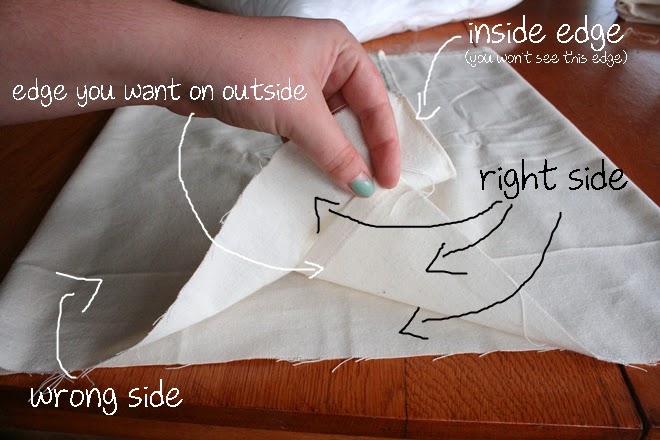
See where the right sides of fabric are, and the wrong sides? Right on the inside, wrong on the outside. You’re going to sew and turn it right way in, so keep that in mind when you’re checking this. Also, I’ve lablled my short sides that I hemmed previously, the nicer hem I want on the outside, so it has to be on the bottom of the over lapping pile. I hope that makes sense.
Now pin the edges down, and sew down the open sides. Two sides won’t need sewing, as they have been folded. Be careful when sewing over the thick layers where the sides are layered up. You don’t want to break a needle. The inside will look like this, with the other folded section inside, hidden away.
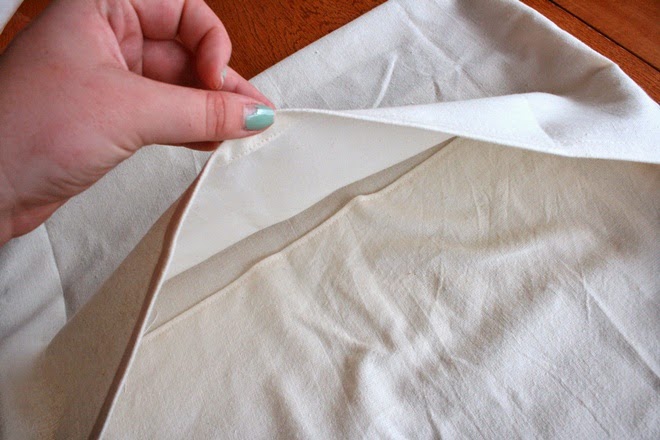
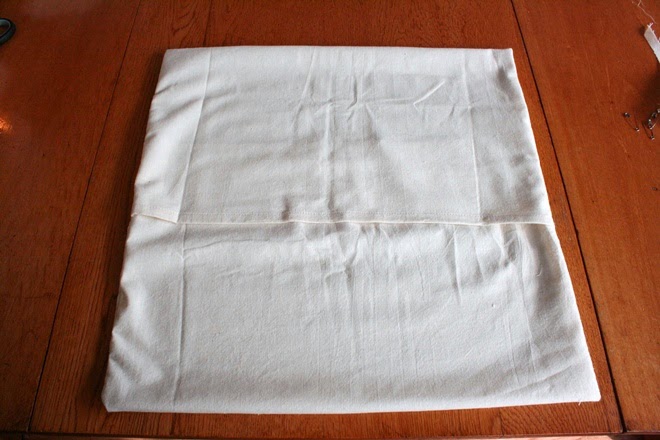
Turn it right way in, pop the cushion in and you’re done! (This picture above shows the back of the cushion)
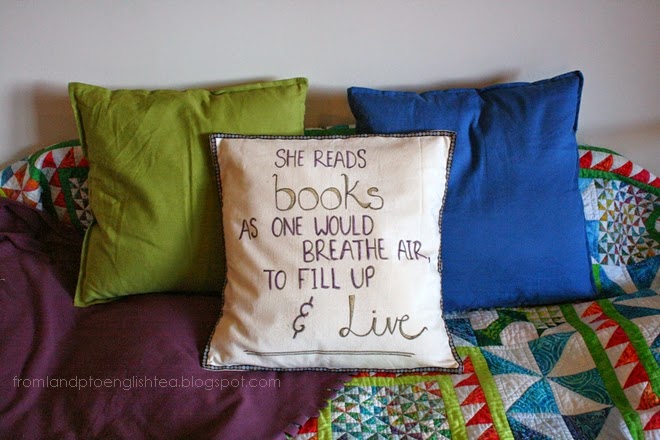
If you want to decorate your cushion cover, take the cushion out to do so, and if you’re using fabric markers or fabric paint, you may want to put newspaper flat inside the cover so the pen/paint doesn’t go through to the back side of the cover. It took me so long to decide which one of my favourite quotes to use, but I went with this one, as my room is pretty much a library.
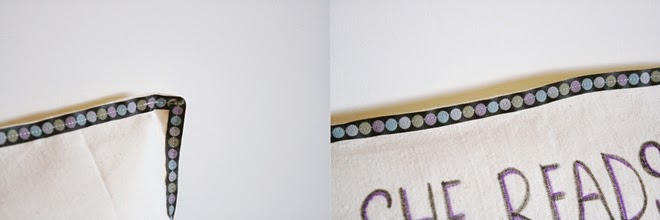
If you want to put ribbon the edges, I just lined the ribbon up with the edges of the cover, and sewed carefully down the middle of the ribbon. This also gave the cushion a nice edge. The corners were a little fiddly, but you just have to create a sort of diagonal fold, and sew over it so the ribbon changes direction.
There we go! I really hope that all made sense. When I was making it, it seemed super simple, but then while I’ve been writing it up I have been thinking ‘does that make sense?’. Let me know if you have questions!! I realise this could have been very confusing!

Anjali Kay
Anjali Kay is an Aotearoa New Zealand-based blogger and book lover sharing travel inspiration, bookish posts, the occasional creative project, and a lot of practical blogging tips here at This Splendid Shambles. Based in Auckland, she's been writing book reviews and travel posts, sharing creative projects and blogging tips since she started her first blog in 2009. When she's not working on her own blog, Anjali also offers blog coaching and support for bloggers who want real guidance from someone who's actually done the work, and is a few chapters ahead of them.


Having fun? Check out these posts!

Bonnie’s Corner :: DIY Kennel Edition…

DIY | Harakeke Whetū – Flax Stars
