

DIY // Flower Fairy Lights with Cupcake Cases…
Last updated on 28 August 2017
This post may contain affiliate links. If you make a purchase with one of these links, I recieve a small commission at no additional cost to you. Read the full Affiliate Policy.

I haven’t posted a DIY on this blog in a long, long while. Partly due to the fact that since about October I have been planning to move countries, actually moved countries, visited 4 countries on the way, and have only really just settled into a new house.
I’ve been organising my room in the new house (yup, still living at home because I don’t know what I’m doing with my life and it’s cheap), and I found in amongst my bits and pieces, a heap of cupcake cases, and also fairy lights. Cupcake cases and fairy lights? Ah, yes please! At first I was just going to pop the lights into a case, but then I thought they would look a lot prettier if they were layered with different colours, and they turned out very flower-like. Here’s how you make them!
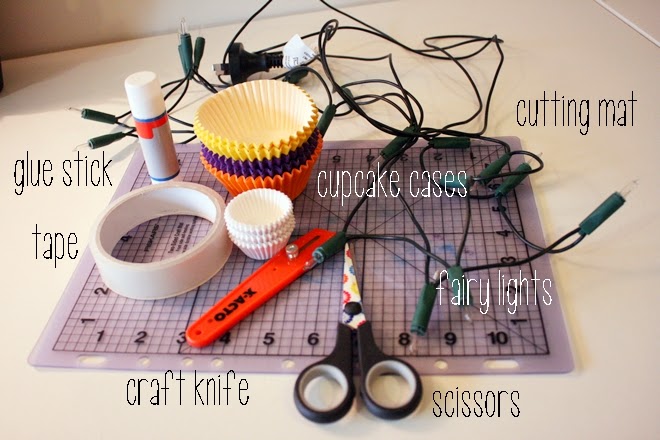
You’ll need all those things, though tape and scissors are just in case there’s a mishap. If you manage to tear, or make a hole too big, you can just put a little tape on the back, and it will be all good.
Presumably you’ve got your cupcake cases in the colours you want to use. I used three different colours, and also, as you can see, a mix of big cases and small white cases for the middles.
The first thing you want to do is choose which colours you want where. Obviously if you’ve got little ones, those will go in the centre, but decide what colour you want in the middle, and what you want on the outside. I went with purple and orange on the outsides, and yellow in the middle, plus the little white one.
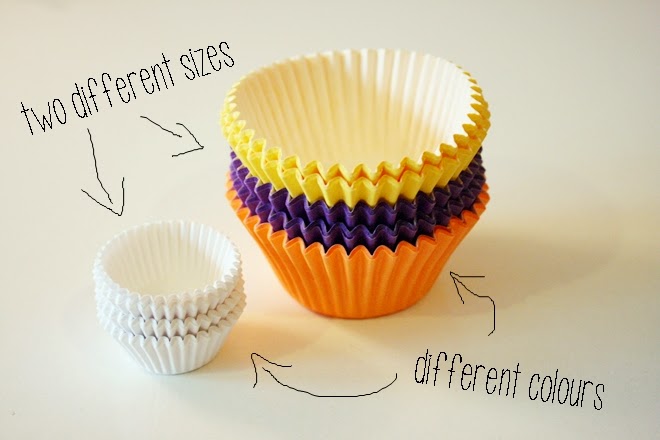
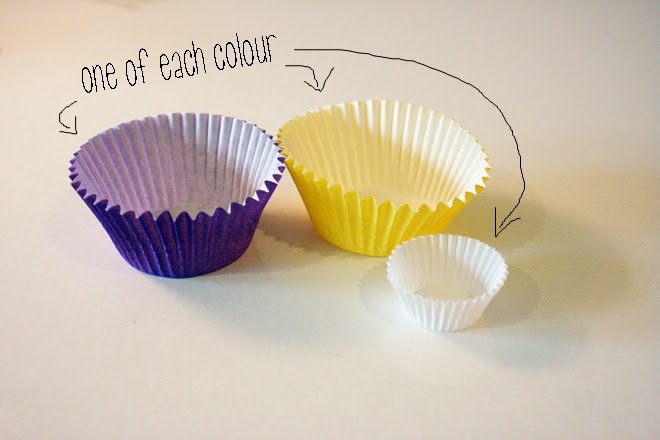
Once you know what you’re doing, pick up the case that you’re going to have in the middle (my yellow one), and you’re going to gently turn it inside out. Cupcake cases are pretty sturdy, but be careful all the same.
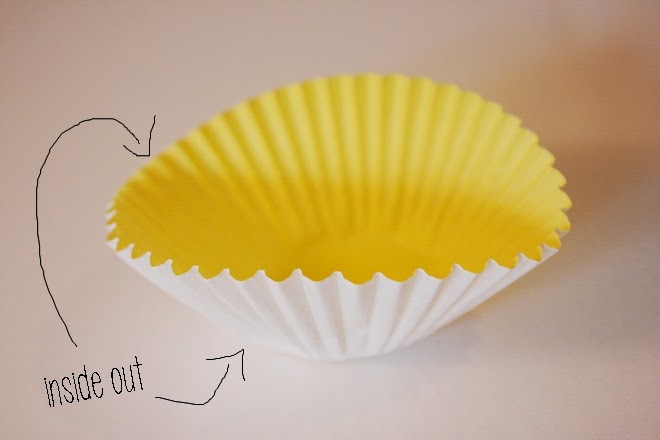
Grab your glue, and put some in the middle of the outer case (my purple) and place the middle case (my yellow) in, pressing them together. Your middle colour should be visible, as you’ve turned it inside out.
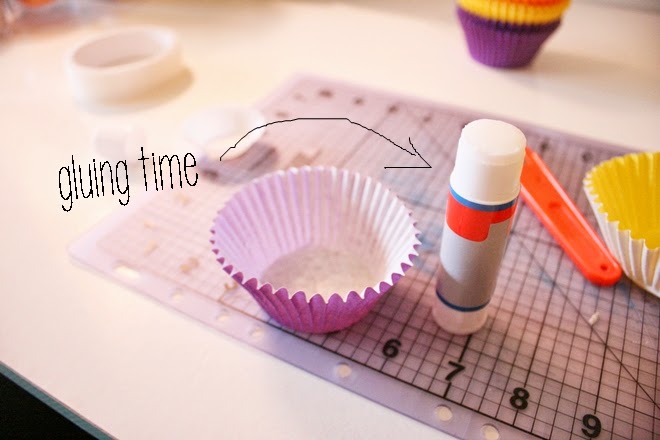
Then put some more glue onto the middle case. Take your little case (my white) and gently pull it apart a little. I don’t mean rip it to shreds, I mean loosen the folded edges, so it’s a little more spread out. Place this into the middle one you’ve just put glue in, and press.
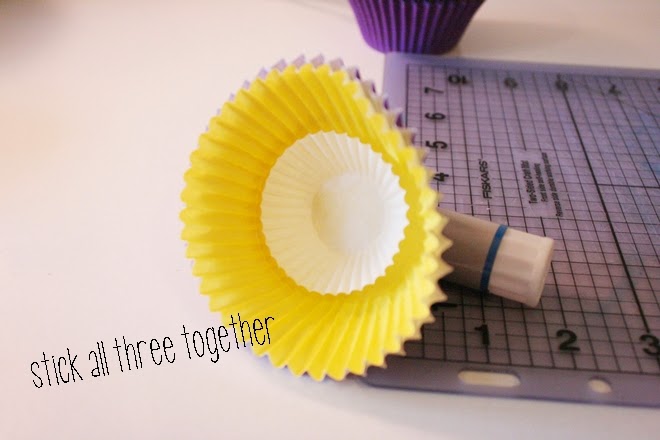
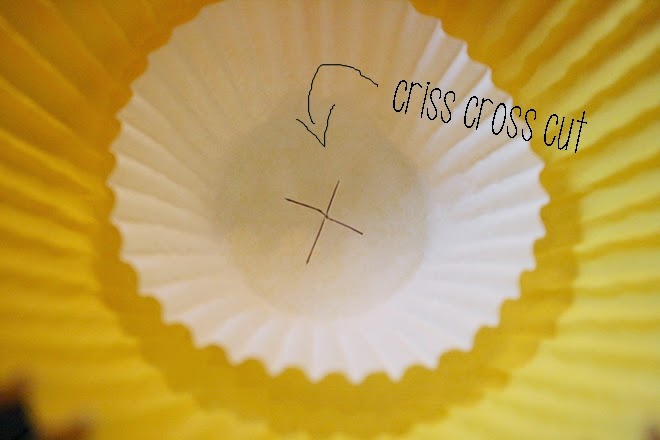
I suggest making all the flowers first, rather than making an entire one and putting on the light, and then making another one etc etc. This way, it gives the glue a little time to dry. Once you’ve finished doing all your flowers (you’ll need enough for however many bulbs your fairy lights have; I had 20, 10 of purple and 10 of orange), then you can go ahead and use the craft knife and cutting board (or wooden chopping board would work just fine too – just so you’re not going to cut into your table or desk) to create a criss cross cut through all three layers of cases.
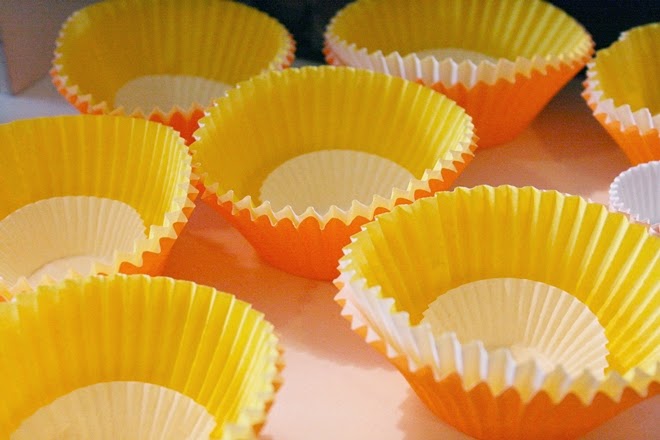
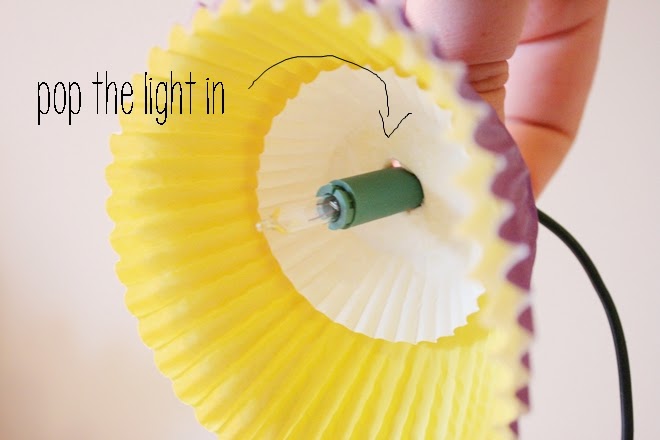
The take a light bulb on your fairy lights, and carefully (and gently!) push it through from the back of the flower. Here’s where you may need tape if it doesn’t go as well as you had hoped. Do all your flowers like this, and you’re done!
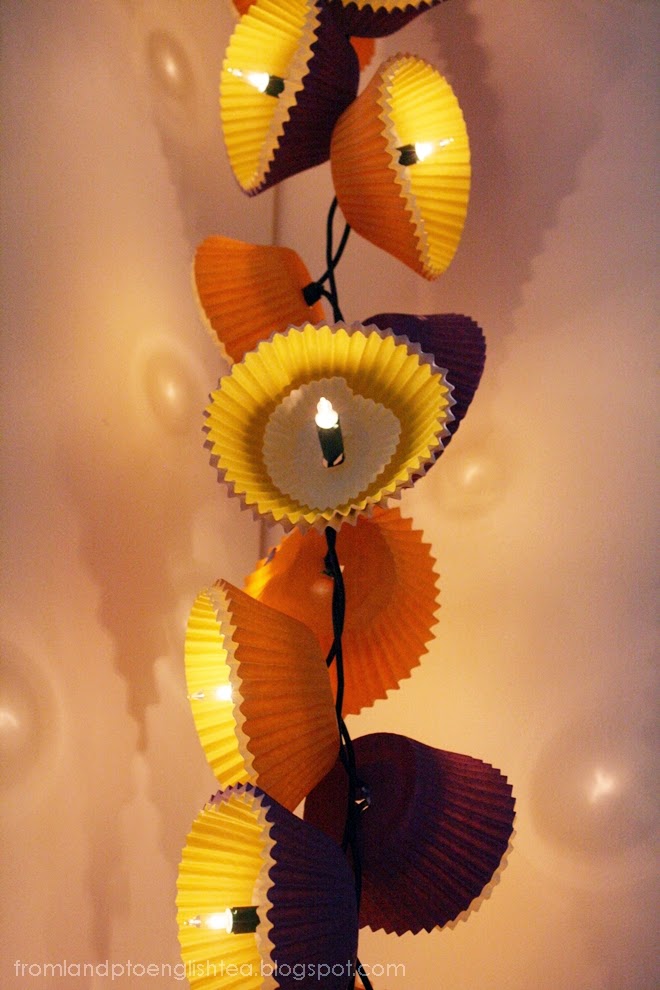
Now all you have to do is decide where to put them! They look pretty cool just as is, but even better when they are on! Light those babies up!
Do you love fairy lights as much as me? If I had to give up normal ceiling lights for hundreds of fairy lights, I wouldn’t even think twice.
On this date last year: Anjali Takes On the World // Portugal Edition Part One

Anjali Kay
Anjali Kay is an Aotearoa New Zealand-based blogger and book lover sharing travel inspiration, bookish posts, the occasional creative project, and a lot of practical blogging tips here at This Splendid Shambles. Based in Auckland, she's been writing book reviews and travel posts, sharing creative projects and blogging tips since she started her first blog in 2009. When she's not working on her own blog, Anjali also offers blog coaching and support for bloggers who want real guidance from someone who's actually done the work, and is a few chapters ahead of them.


Having fun? Check out these posts!

DIY // Blackboard Do-Up…

DIY | Harakeke Whetū (Flax Star) Garland
