

DIY :: Easy Fabric Bunting you can DIY at Home
Last updated on 3 April 2020
This post may contain affiliate links. If you make a purchase with one of these links, I recieve a small commission at no additional cost to you. Read the full Affiliate Policy.
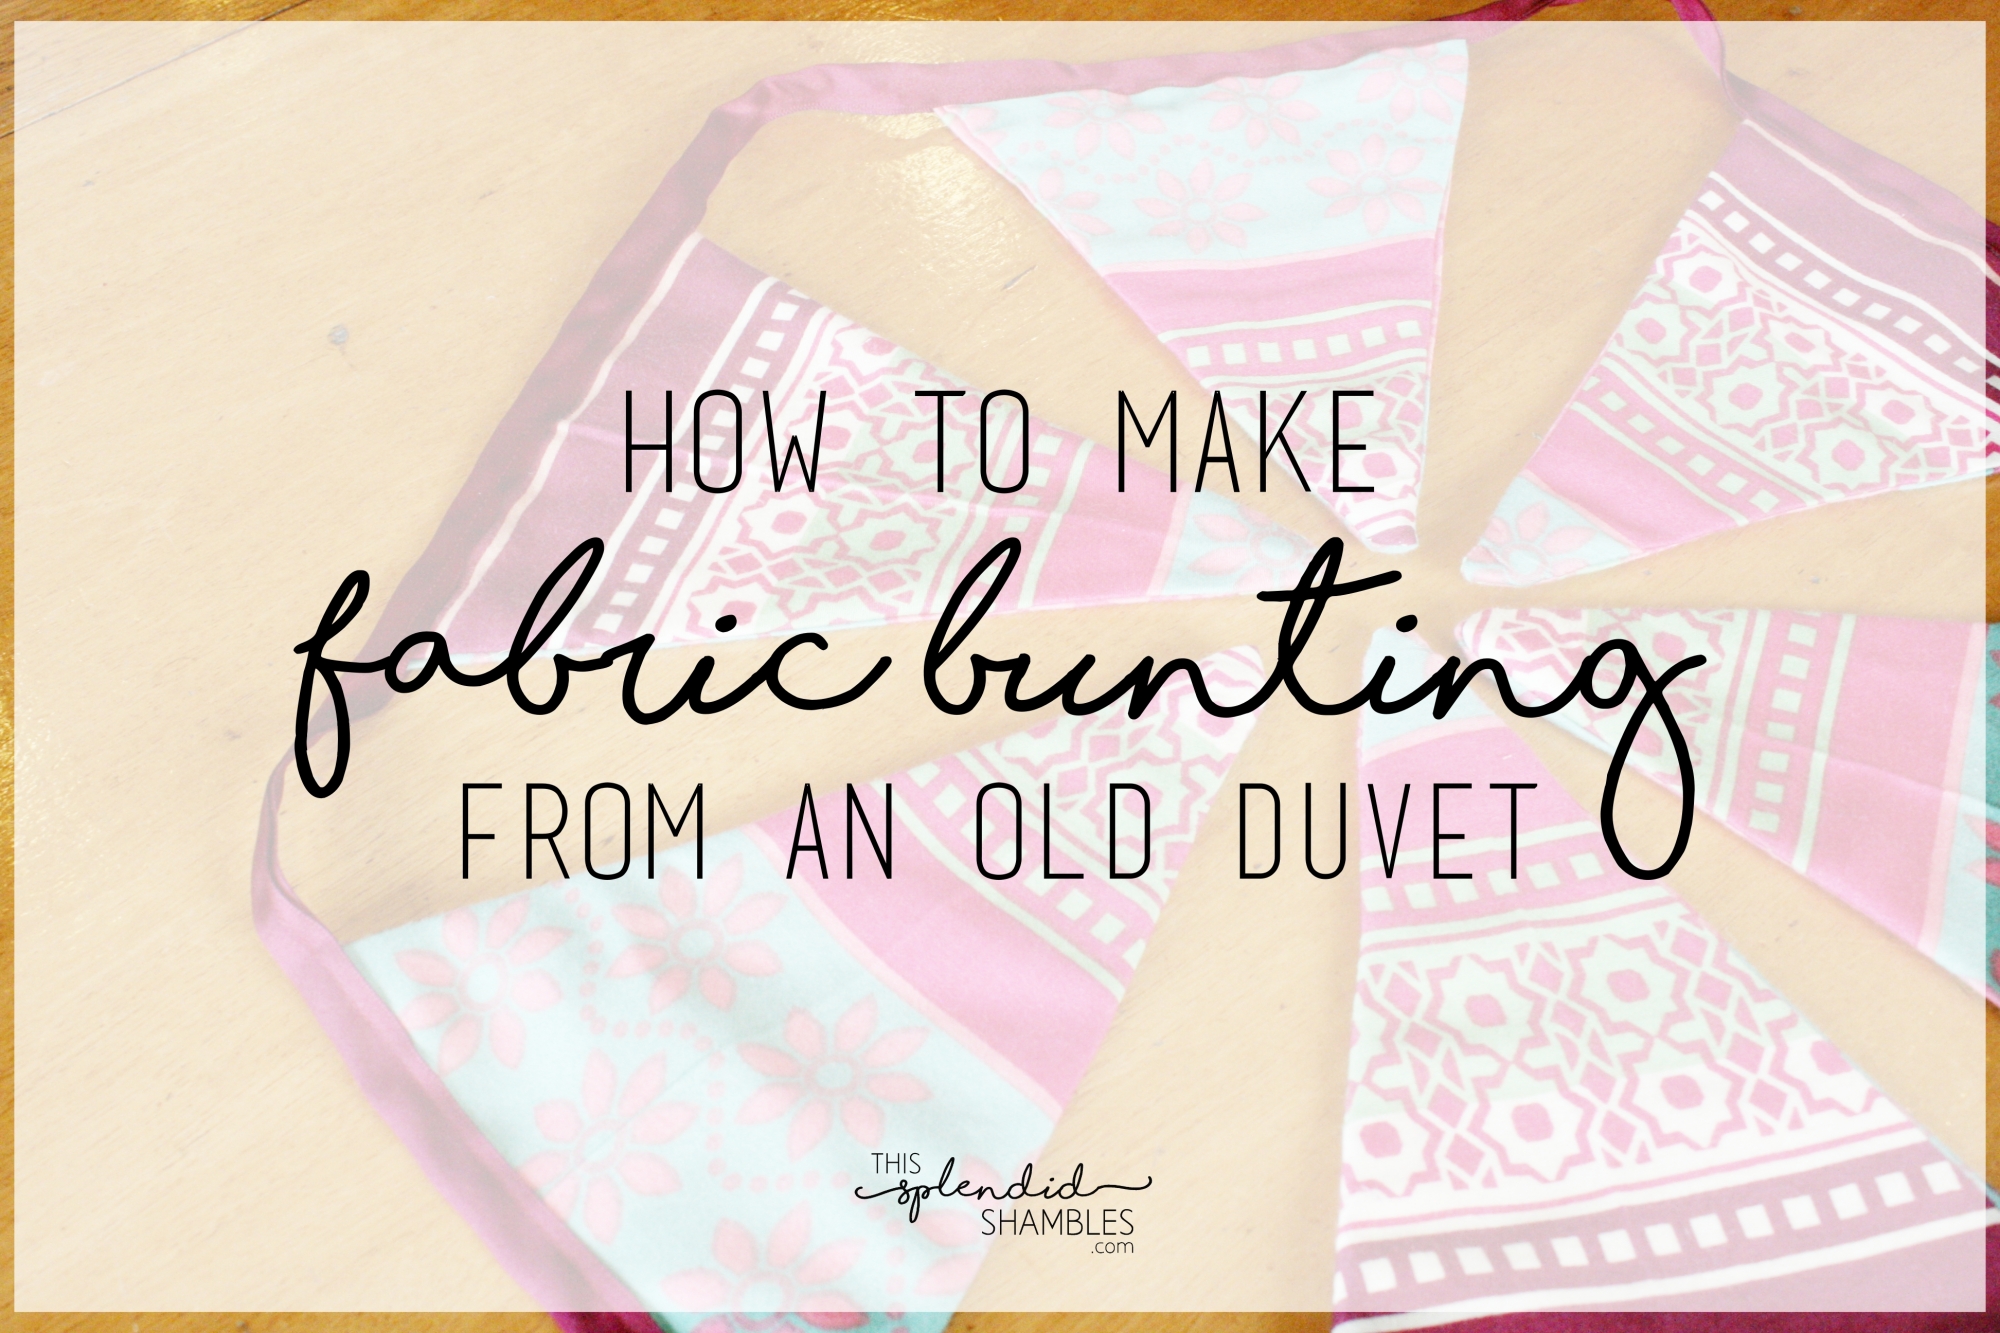
I’ve always loved fabric bunting.
I have dreams about living in a house bus that’s full of bunting and cute things. And that’s not like a random sleep dream I had one time ten years ago. I mean that’s like a life dream. How awesome would that be? My only hesitancy is that if I lived in a house bus, I would need another bus that I could attach to carry all my books in. Eh. Minor details, right?
I’ve often made bunting, either for friends, for myself, or events in which I’ve been asked to decorate. I’ve made them several different ways – felt bunting glued between ribbons; felt bunting stitched together; no-sew fabric bunting on string; paper bunting; tassel bunting; themed bunting; make a diamond shape and fold it over string – but I hadn’t made proper fabric bunting with a sewing machine.
I was given a cool duvet cover that someone was throwing out, and I thought it would make gorgeous bunting. Because a duvet cover already (sort of) has two layers to it, you can use that to your advantage when making the bunting. Here’s how I did it.
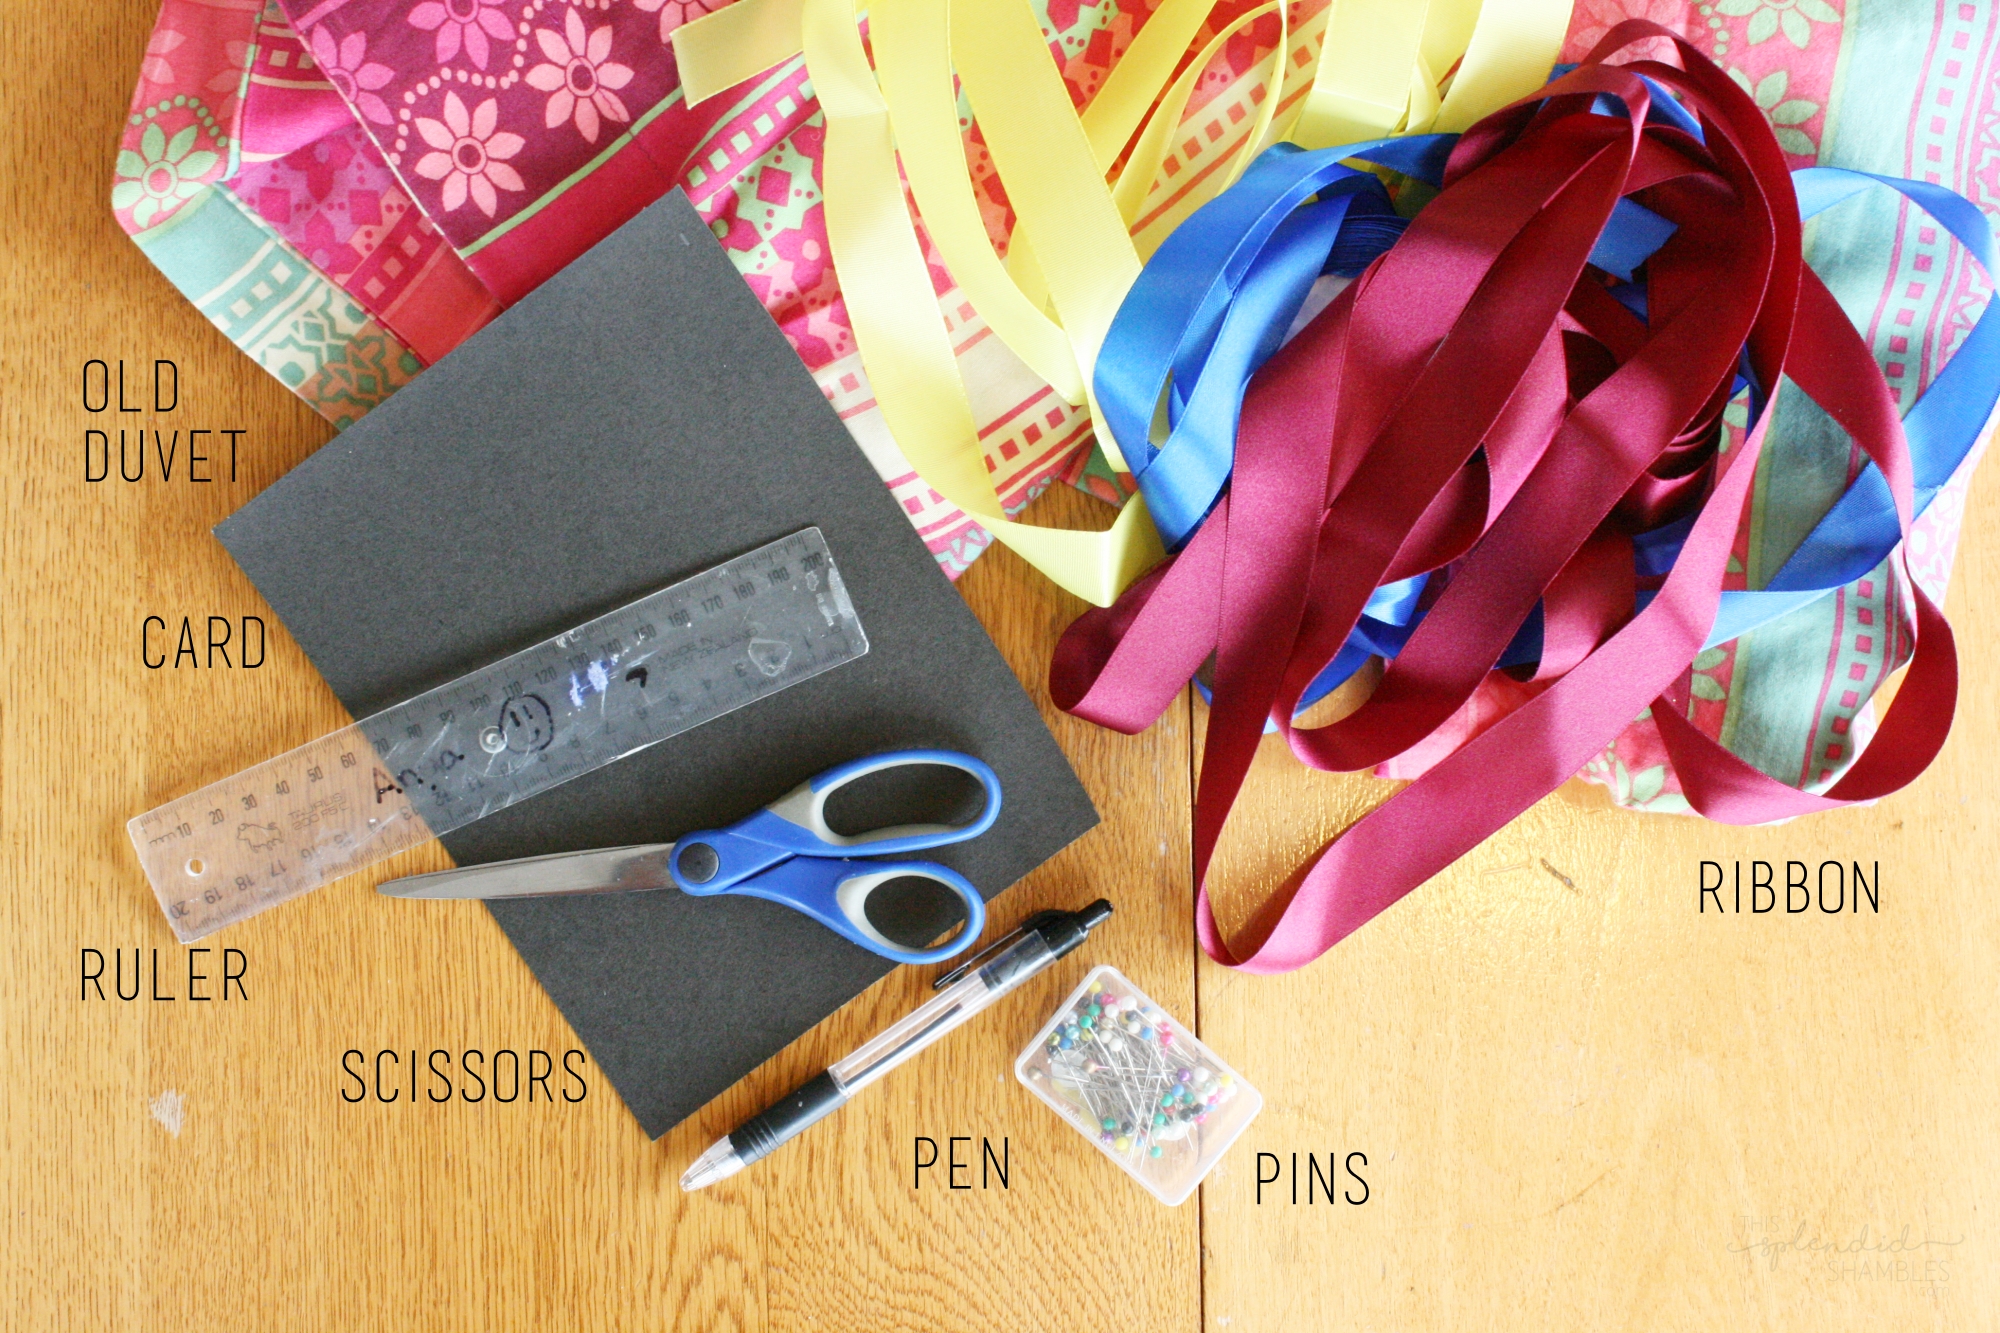
What you’ll need
- Fabric of your choosing
- Ribbon (that matches the fabric…or not! Up to you!)
- Card (for making a template)
- A ruler
- Scissors (if you’ve got fabric scissors, then grab those too)
- A pen or dark pencil
- Pins
- A sewing machine
- Iron
How to make fabric bunting from an old duvet cover
1. Grab your card. It can be paper too, I just find it easy when tracing around things to make it on card. Draw out a triangle shape using the ruler. Play around with different measurements until you get a size and shape you like. If it helps, I did mine 14cm across the top, and about 18cm in length. Cut it out.
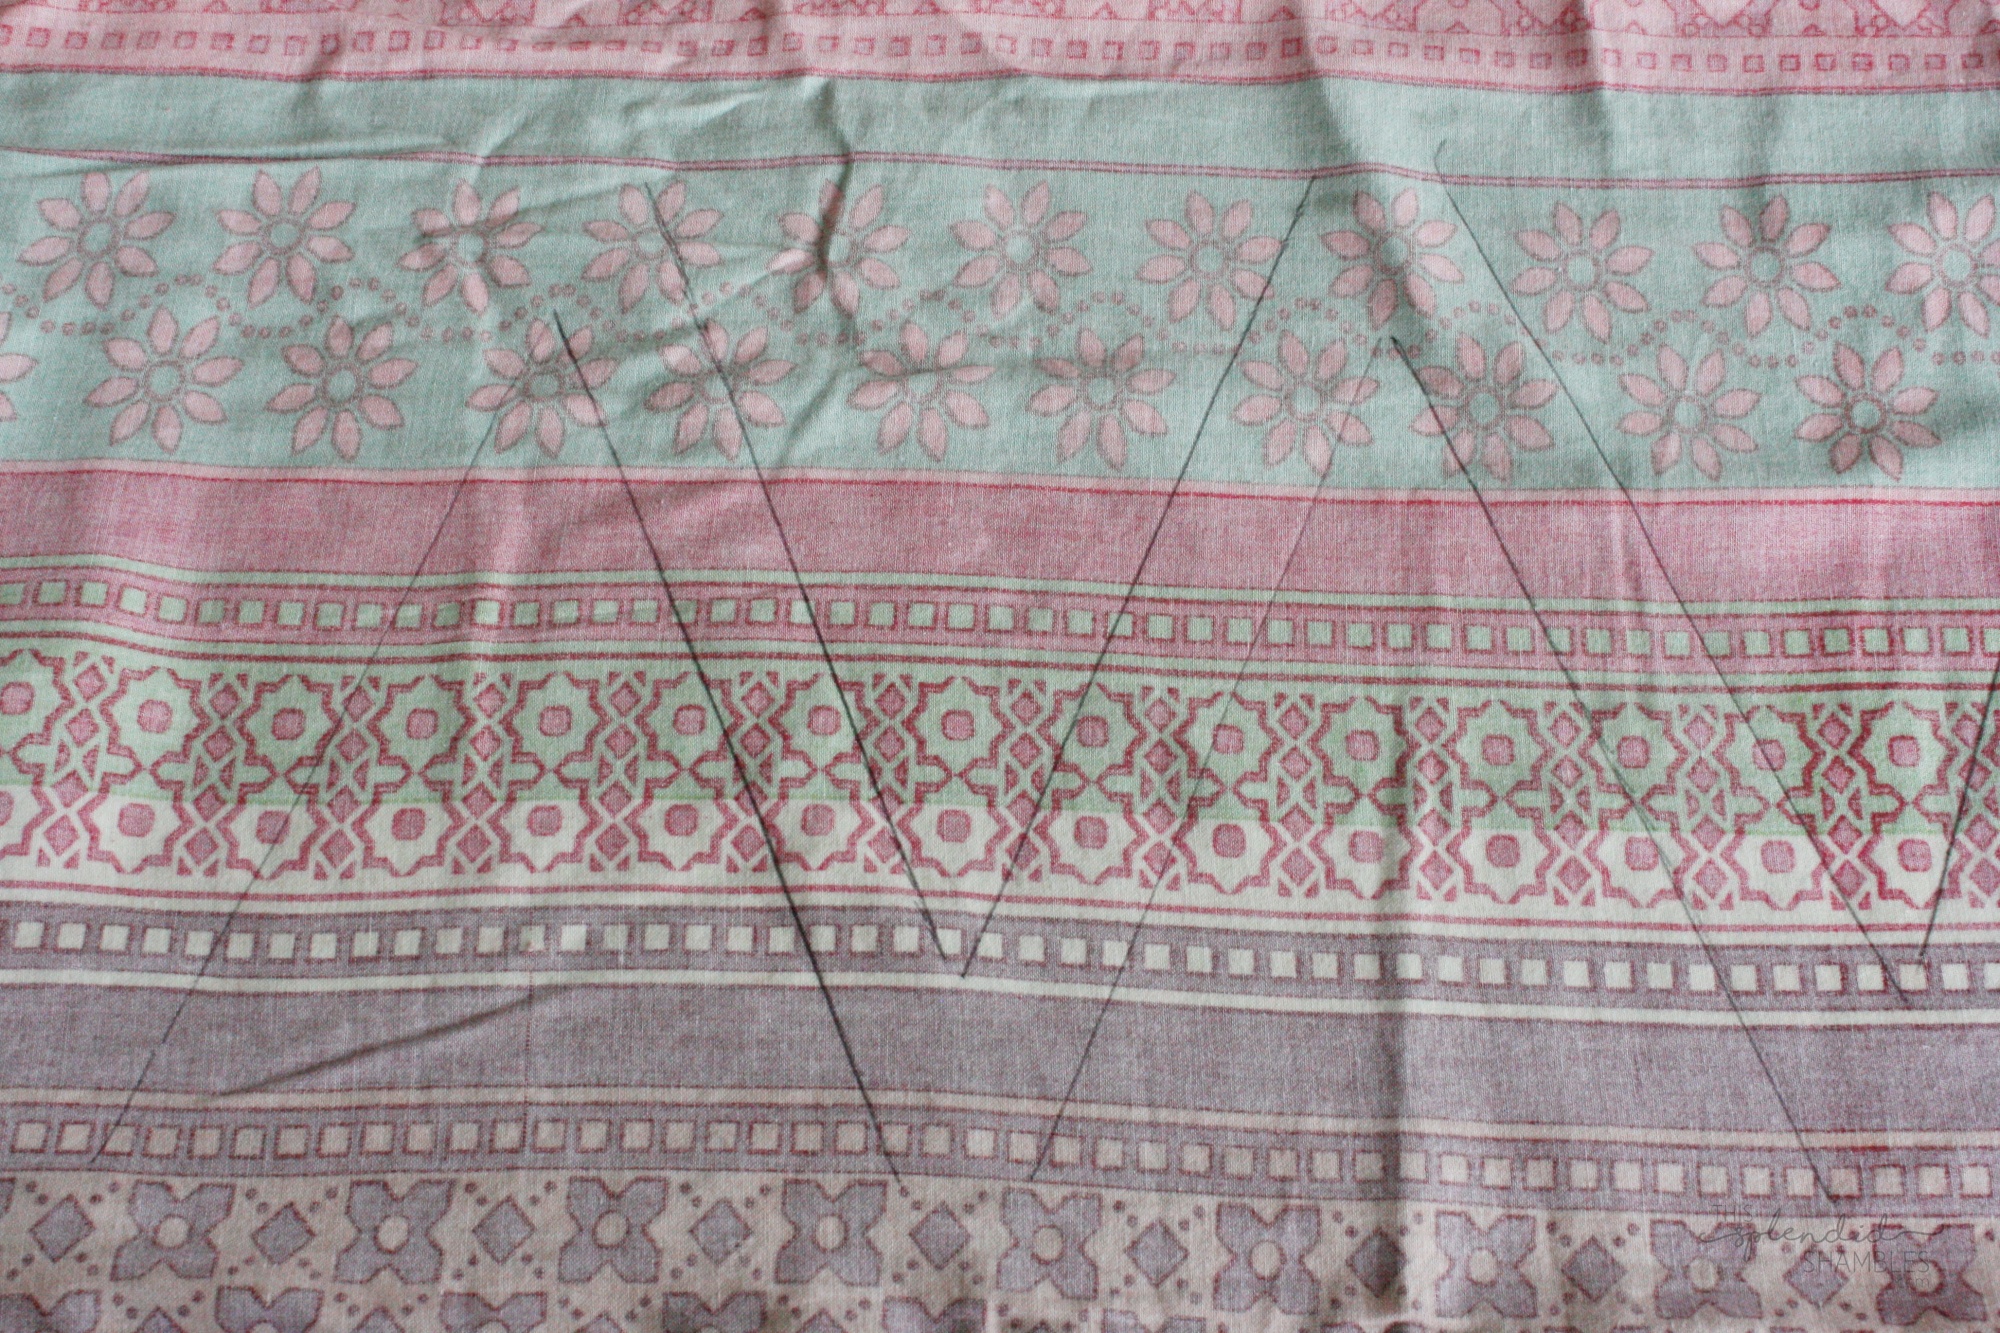
2. Spread out your duvet. If you don’t have an old duvet cover to use, then fold your fabric so it’s double sided, with the right side on the inside. Lying your fabric flat, grab your template and pen/pencil and trace around your triangle onto the fabric. You can alternate directions to make the most of the space. Leave a gap between each triangle you draw, though, because we’ll be cutting between them. Draw as many as your want/your fabric length allows.
Tip: If you happen to have lines on your fabric like I did, I found it really useful to match up the top of my triangle to the same line right along. If you don’t have lines, make sure you trace the top of the triangle too, so you know where to cut later.

3. Now grab your pins. Place a pin within each triangle, so it holds both layers of fabric together. This will stop it moving about when you go to sew it.
4. It’s sewing time! Simply sew down all your lines, except for the top edge of each triangle. You need to keep that open to turn it inside out later.
You may be wondering why it’s all on one sheet of fabric. The reason? It’s just a lot easier than cutting all the triangles out and then sewing them together. It also allows for wonky sewing errors. If you sew too far out of the lines, you can also go back and sew in the right place, and it won’t matter because when you turn it inside out later, it’s going to be the shape of the inner most stitch.
5. Once they are all sewn, grab your fabric scissors (or sharp normal scissors if you don’t have fabric ones), and cut between the triangles you’ve sewn, making sure you don’t cut through your sewing. They can be pretty rough; it doesn’t matter. You won’t see these edges.
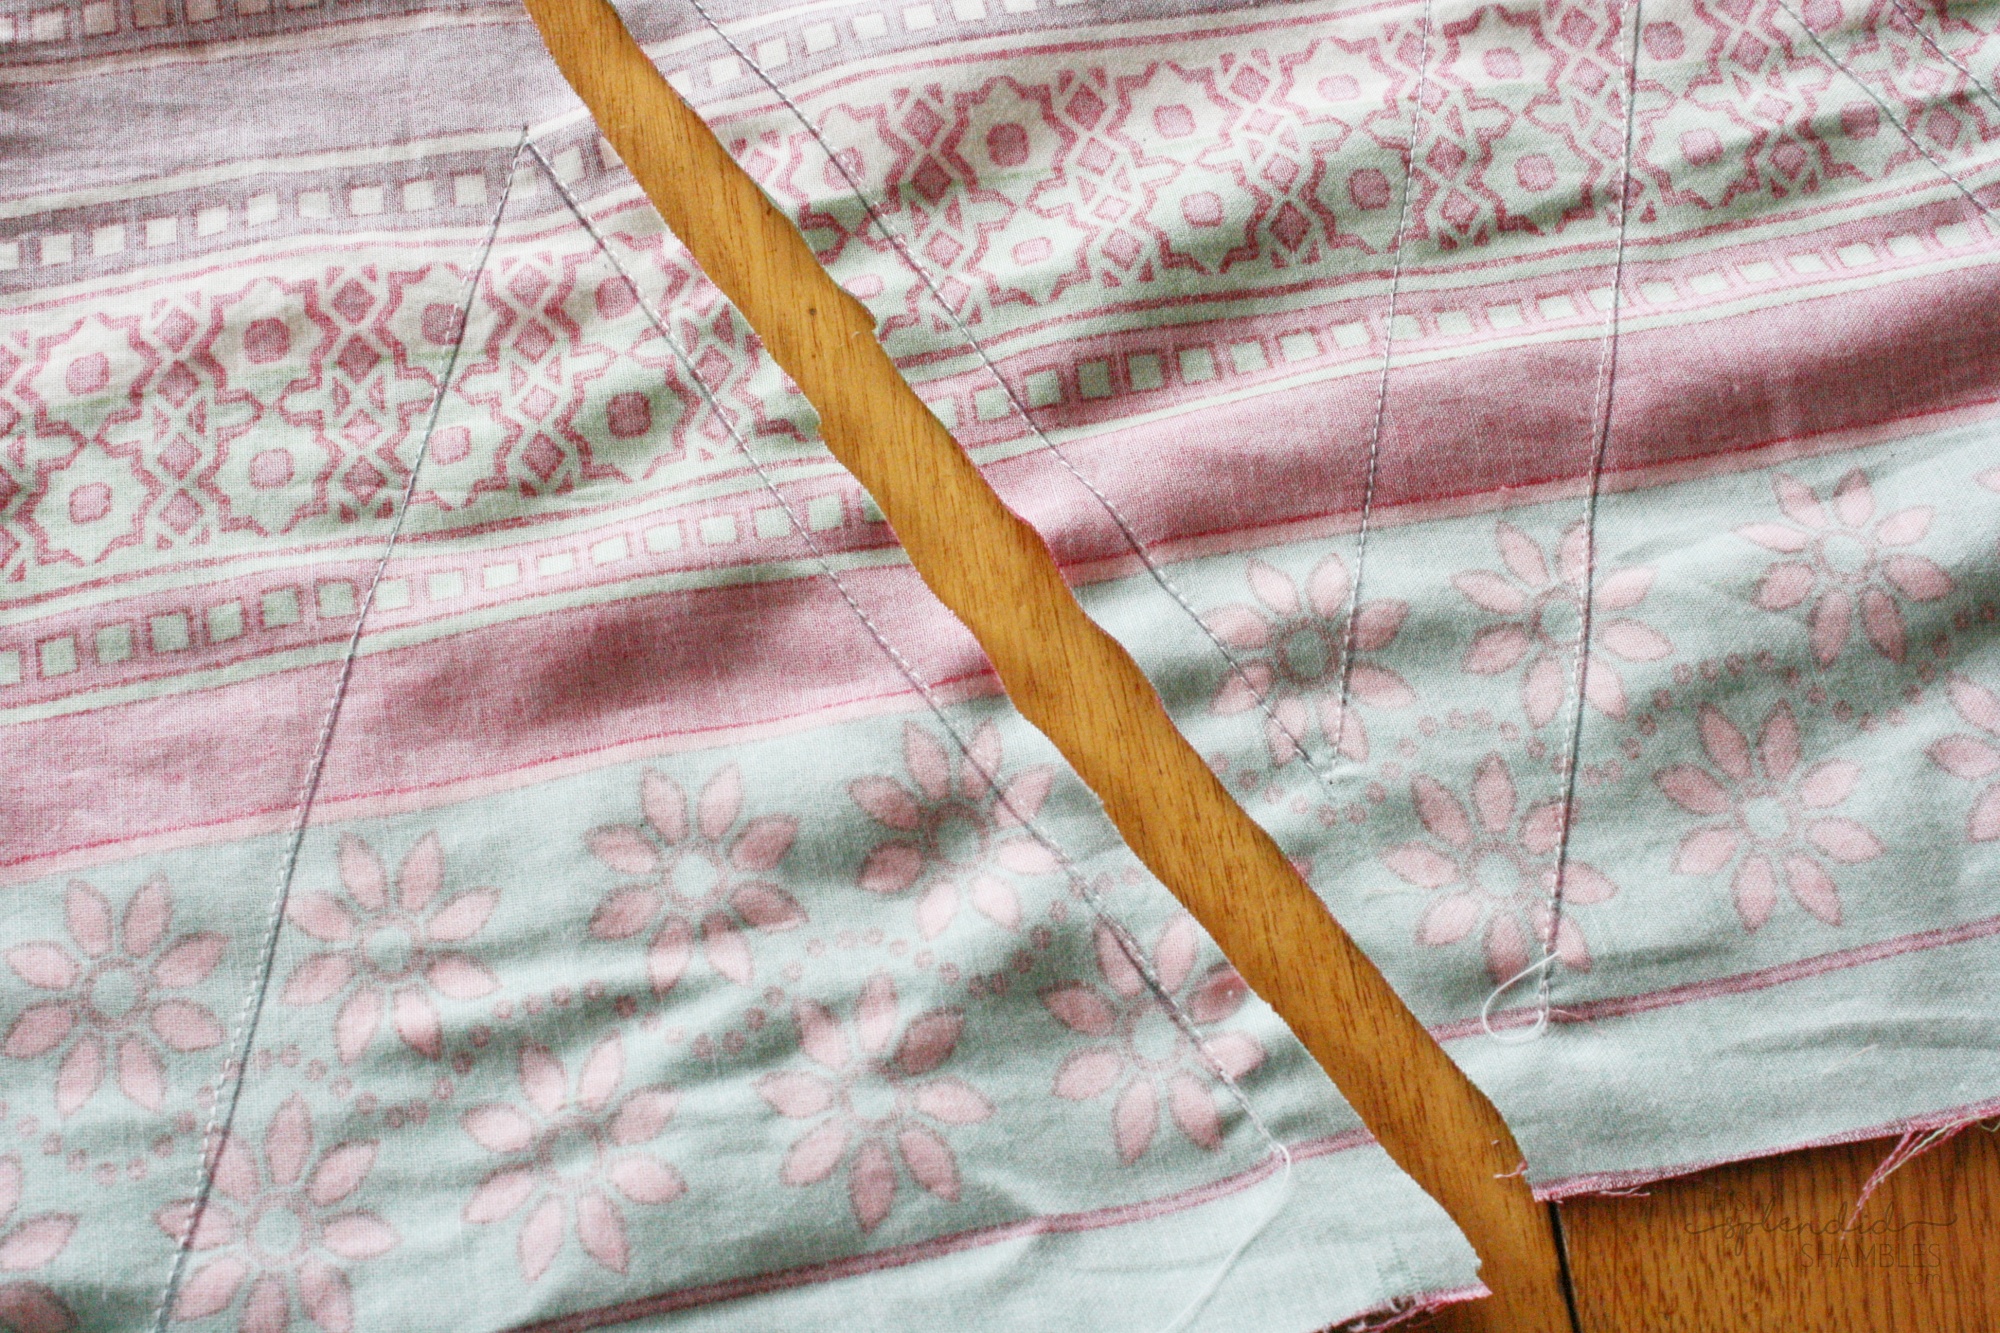
6. Next, turn all your triangles inside out. Now you have sort of pockets of triangles, but they’re all sort of bubbly, not sitting flat. It’s ironing time! Grab your iron and iron them flat. This is really going to help when it comes to putting the ribbon on. Here’s the difference between an ironed one and a non-ironed one:
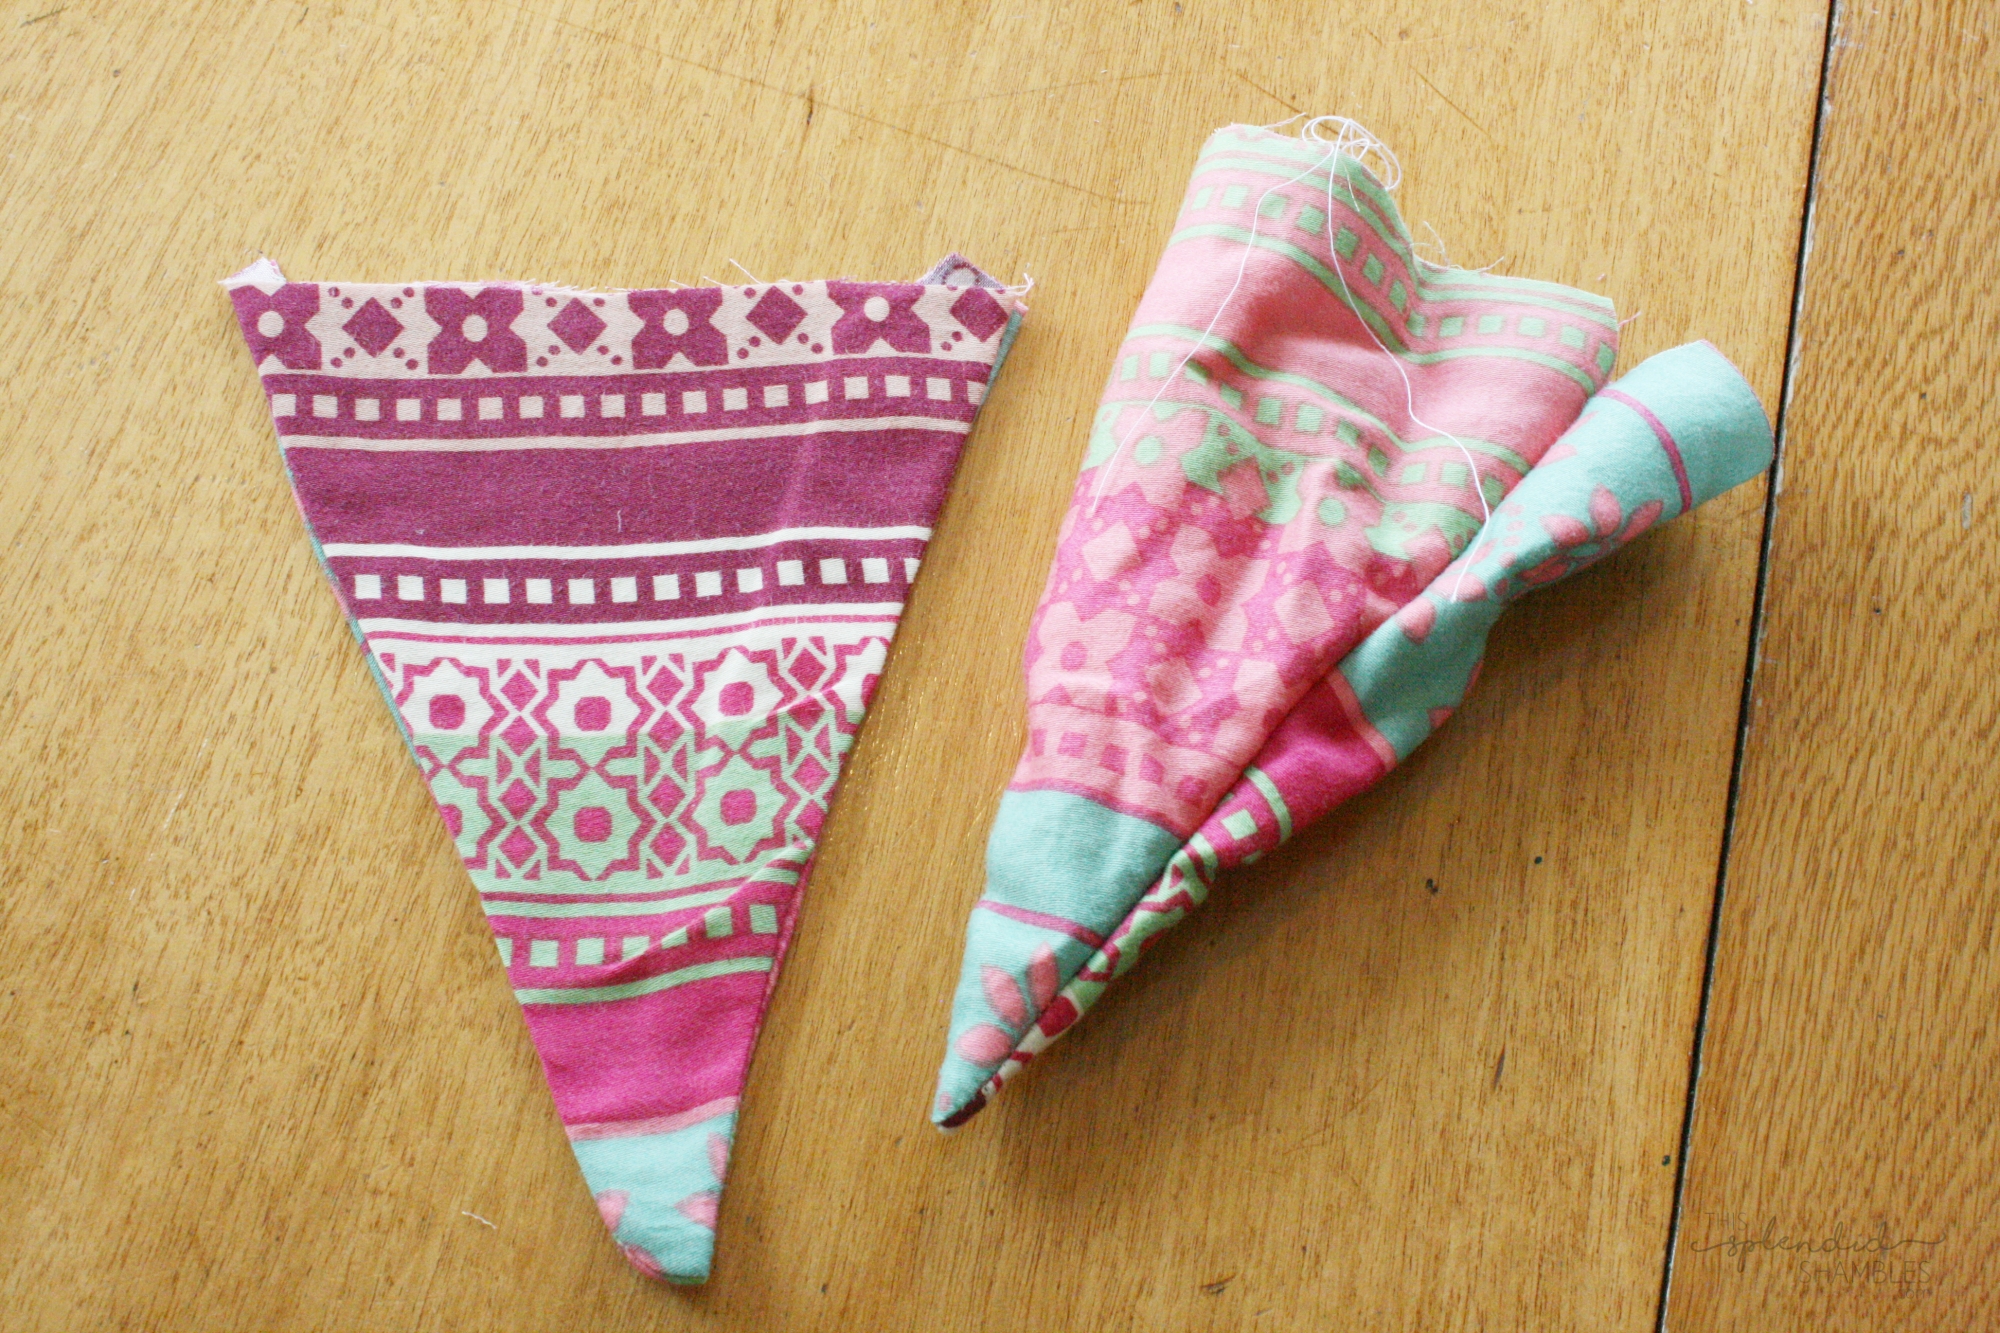
7. Once they’re all ironed, check that they are all the same size. You may find you have a bit of extra fabric at the top of the triangle. Now’s the time to trim that off so they’re all the exact same size.
8. Grab your ribbon. I actually found it easier in this step to iron the ribbon in half, folded length wise, just to give it a little bit of structure. You don’t have to do that, but you may find it easier. Place the top of your first triangle on half of the ribbon, and fold the other half on top of the triangle. Place several pins along it so it all stays together.
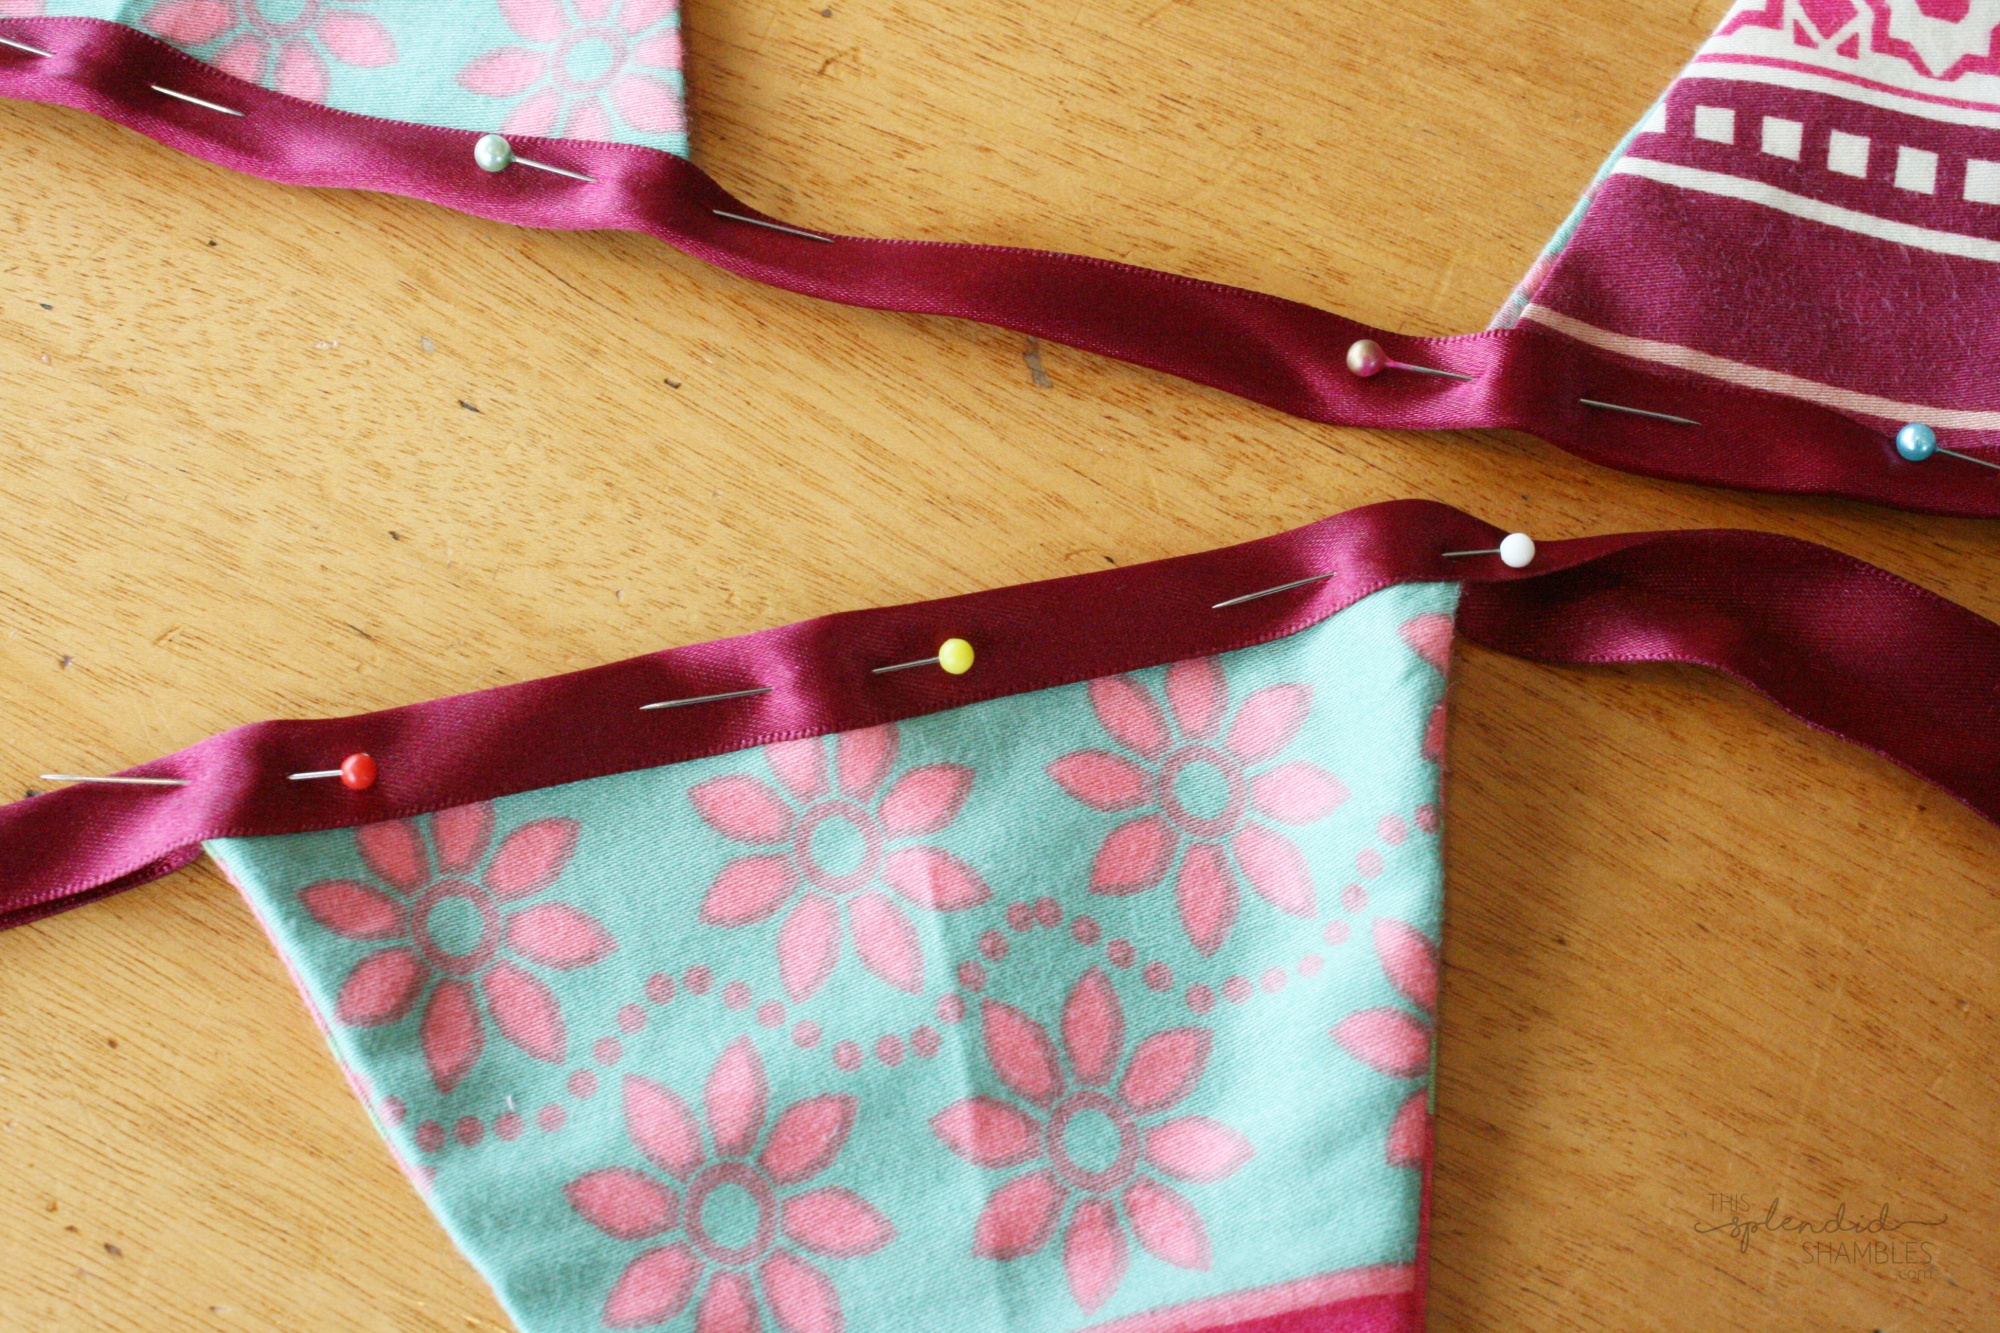
9. Pin all your triangles in place.
Tip: If you choose to leave a gap between each one (you don’t have to!), I suggest placing another pin in the gap, so sewing is easier.
10. Sew them together. You can start at one end and just keep sewing, taking the pins out just before you get to each one. Sew as close to the edge of the ribbon as possible (the open/bottom side), as this will ensure that you are getting the fabric in between too.
Tip: Be careful with your layers and your sewing machine. You have four layers there (ribbon, fabric, fabric, ribbon), so just be aware of that. Make sure you don’t sew over your pins. I’ve broken many a needle by accidentally trying to sew through a pin. *rolls eyes*.
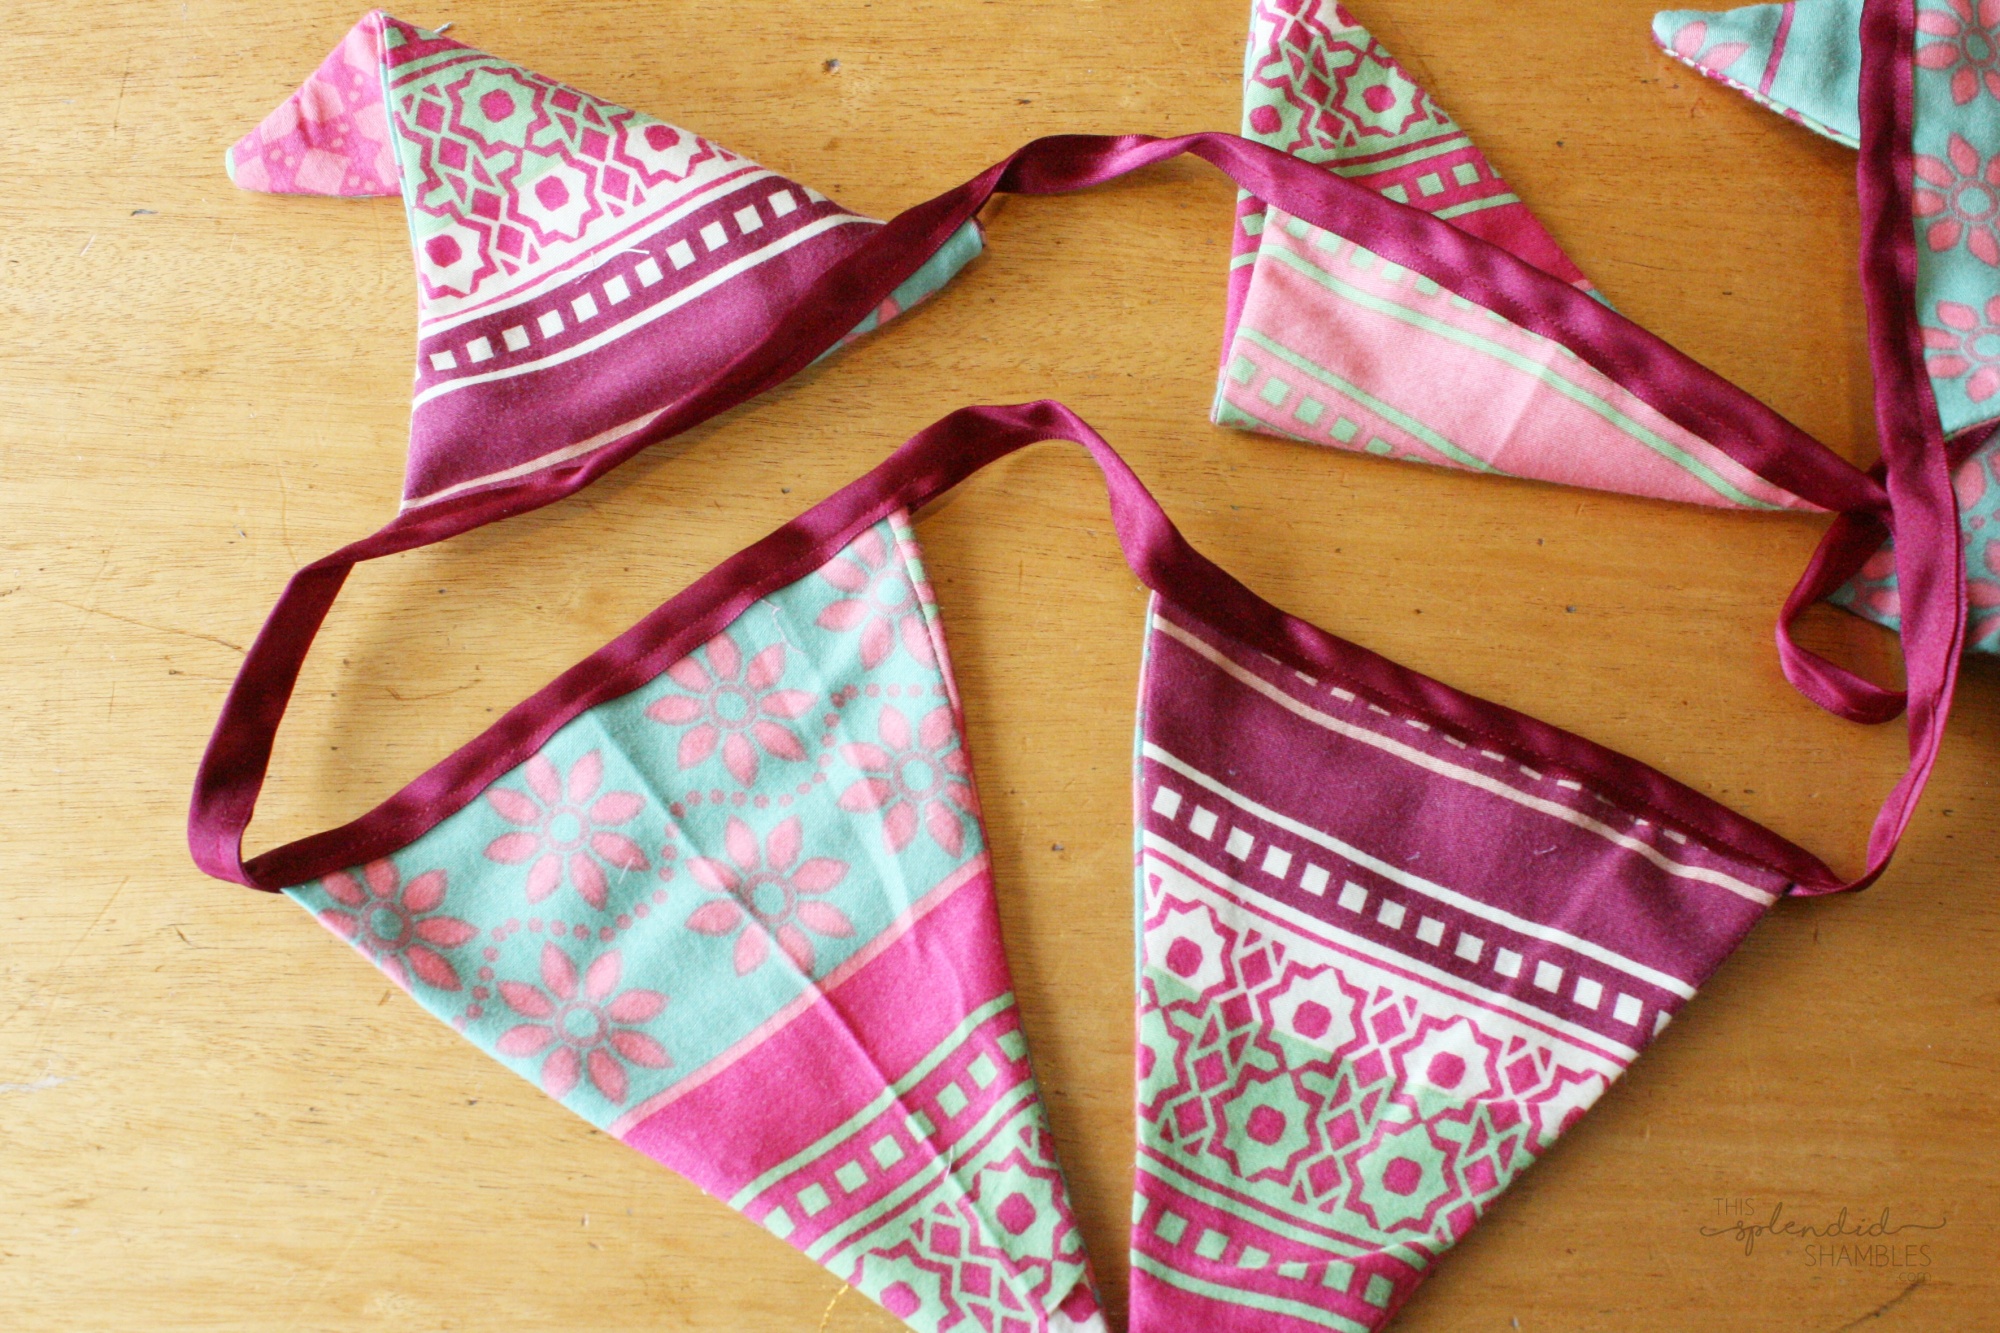
And you’re done! Pretty! I hope that all made sense and was easy to follow. If you have any questions, please don’t hesitate to ask! It seems like a lot of work, but it doesn’t really take too long, and it’s a lot fast sewing them all together like that and then cutting, as opposed to chopping all the triangles out first.
Let me know if you end up making some! I’d love to see them!

Anjali Kay
Anjali Kay is an Aotearoa New Zealand-based blogger and book lover sharing travel inspiration, bookish posts, the occasional creative project, and a lot of practical blogging tips here at This Splendid Shambles. Based in Auckland, she's been writing book reviews and travel posts, sharing creative projects and blogging tips since she started her first blog in 2009. When she's not working on her own blog, Anjali also offers blog coaching and support for bloggers who want real guidance from someone who's actually done the work, and is a few chapters ahead of them.


Having fun? Check out these posts!
DIY Dursley’s Fireplace with Flying Acceptance Letters

The Need for {DIY} Speed :: Quick, Funky Addition to a Jar or Vase
