

DIY Word Art…
Last updated on 21 April 2016
This post may contain affiliate links. If you make a purchase with one of these links, I recieve a small commission at no additional cost to you. Read the full Affiliate Policy.

With more time on my hands than I should care to admit a few weeks ago, I looked at a blank canvas and decided to fill it in with something. Anything. At the same time, I saw paint, and washi tape. Mix the three together and you get this. Word art on a canvas. It was super easy and the only thing that’s time consuming is painting for paint to dry. I’ll just get straight to it then, shall I? 🙂
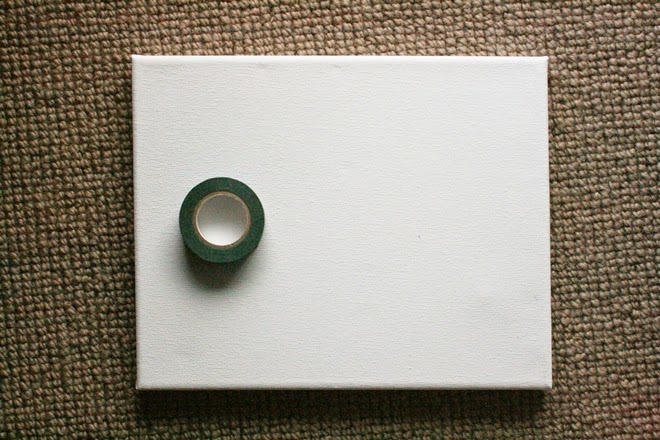
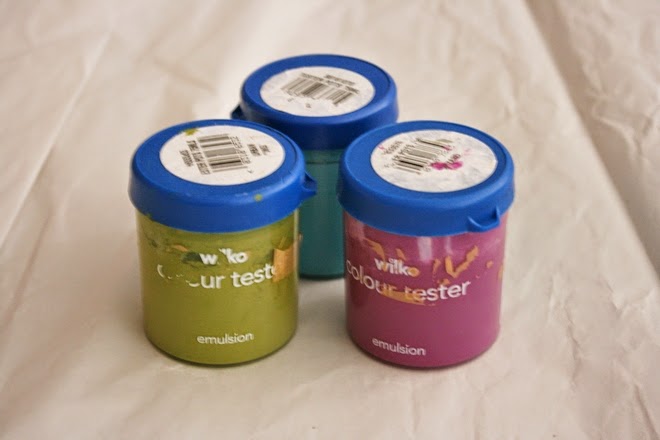
You’ll need:
Canvas
Painting tape or washi tape
Paint (I used colour test pot paints that I got in Wilko in the UK, but any acrylic paint with be fine)
A word.
Using your painter’s tape, or washi tape if you don’t have any (don’t use super pretty washi tape that you love – use that one you don’t use very often, or one that doesn’t stick very well), stick out a word/phrase onto a canvas. You can obviously write whatever you’d like, but bare in mind that tape is straight edged, and making words with lots of rounded letters (o, c, p, d, b etc etc) may be difficult. But by all means try. I just don’t have the patience for it. Haha.
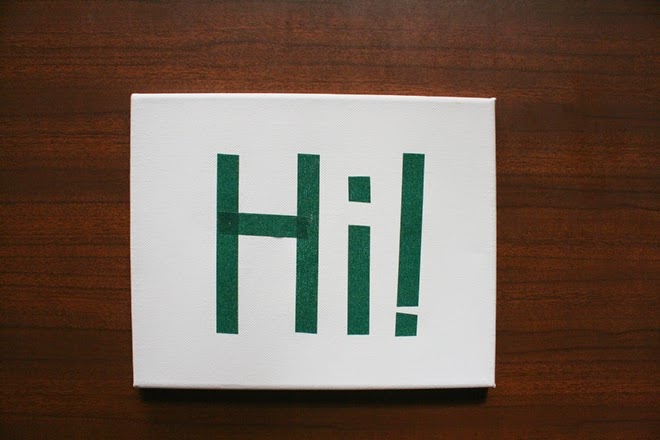
Once you’ve got your word/s sorted, throw some paint at it. I ended up doing a simple stripe in purple, green and blue, and I’m quite happy with it. Next time I might try vertical or horizontal rather than diagonal. Or something swirly. Anyway, I digress. Paint something. Anything. It’s up to you.
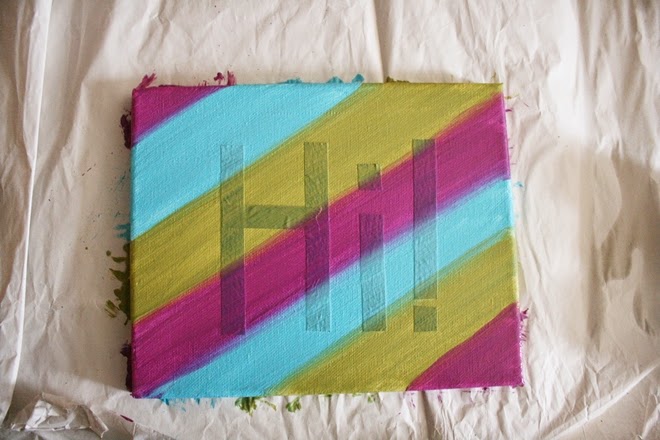
Wait for it to dry. When it is, carefully peel off the tape. You may find, like I did, that the lines weren’t very straight and the paint had seeped under a little bit. If you’re using painter’s tape, then this shouldn’t happen, but with washi tape it may. I didn’t mind, though, and I quite like the rough sort of look. If you’re a perfectionist, go back in with some paint and fix up the lines. Or alternatively, go over the edges with a thick marker in either black or a colour that works with your painted colours.

You can either just leave it as is now, or spread some Mod Podge over the top, for that nice shiny look. Once it’s dry, you’re done! I gave this one to my sister, so we put it in her room on her book shelves.


Anjali Kay
Anjali Kay is an Aotearoa New Zealand-based blogger and book lover sharing travel inspiration, bookish posts, the occasional creative project, and a lot of practical blogging tips here at This Splendid Shambles. Based in Auckland, she's been writing book reviews and travel posts, sharing creative projects and blogging tips since she started her first blog in 2009. When she's not working on her own blog, Anjali also offers blog coaching and support for bloggers who want real guidance from someone who's actually done the work, and is a few chapters ahead of them.


Having fun? Check out these posts!

DIY Painted Wooden Animals…

Guest Post | Lauren Shares Her DIY Home
