

DIY Felt Camera Lens Case…
Last updated on 21 April 2016
This post may contain affiliate links. If you make a purchase with one of these links, I recieve a small commission at no additional cost to you. Read the full Affiliate Policy.
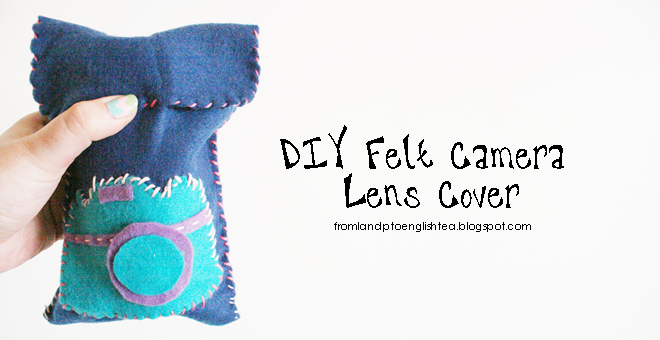
So this was actually a bit of an accidental DIY last week sometime. I was asked to photograph an event, and I was pumped and ready to go. And then I realised I didn’t have a camera bag (I have yet to buy a nice camera bag/satchel thing…but I really want one), so my work satchel would have to do. But then I realised I didn’t have a cover or case for my lenses, and I didn’t want to just chuck them in my bag, unprotected, as the bag isn’t padded at all. While this isn’t the best way to carry lenses around, I’m sure, it was definitely worthwhile for the day, and I’m really glad I quickly put this cover together a few hours before the event (hence the bad photos – sorry!) So if you don’t have a camera bag like me, but want something in the meantime to give a little more protection to your lovely lenses, then here’s a super easy felt cover option.
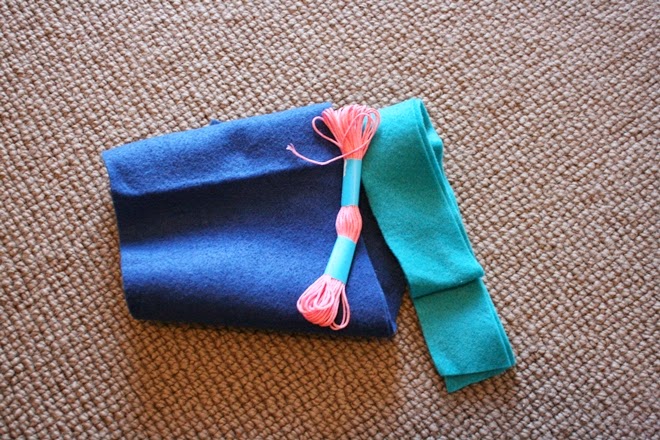
You’ll need:
Felt
Thread (I use embroidery thread for these sorts of things)
Scissors
Glue (just stick glue is probably fine, or PVA)
First you want to cut the felt to the size you need for you lens. I didn’t even bother measuring or anything, I just simply popped my lens onto the felt and sort of made a pretend case around it, so I could see how much I needed. You’ll want it snug, but loose enough you can take your lens in and out easily, and also with a little room so you can sew the edges. You’ll always want it long enough that it can be fooled over, and then with extra still for the flap that will be folded over.

If you want to add a little something-something to your case, go nuts. I created a simple camera shape with different coloured felt, but obviously you can do whatever you’d like. If you want to go for the camera option, you’ll need the following pieces of felt (image on the left, below).
Then you can either sew the layers together or grab your glue and stick them down. I went with both. As you can hopefully see, I sewed (just a simple in out in out stitch) along the line that runs across the camera, and then the rest I just glued on.

Again, you can either glue or stitch your shape/s to the cover. I sewed mine to the cover. When you are attaching it, make sure you don’t sew the layers of the case together. You actually want to be open it 🙂
If you lay your cover felt out so you know exactly where the fold should be (and how much you want at the top that’s extra for folding over), then you’ll know where you can place your camera/shapes.

After it’s sewn on, you can sew up the sides of your cover. I went with a simple over-through type stitch. So instead or going in out in out right along the edge, I always pushed the needle through from the same side each time. In one side, out the other, but then back over the two edges and into the same side as before. I hope that makes sense.

Sew right around the top and down the other side, and you’re done! Bam! One super easy lens case. I hope this actually made sense. Feel free to ask anything if it doesn’t make sense 🙂
Happy sewing, friends!


Anjali Kay
Anjali Kay is an Aotearoa New Zealand-based blogger and book lover sharing travel inspiration, bookish posts, the occasional creative project, and a lot of practical blogging tips here at This Splendid Shambles. Based in Auckland, she's been writing book reviews and travel posts, sharing creative projects and blogging tips since she started her first blog in 2009. When she's not working on her own blog, Anjali also offers blog coaching and support for bloggers who want real guidance from someone who's actually done the work, and is a few chapters ahead of them.


Having fun? Check out these posts!

DIY Half Painted Vase…

Guest Post | A Guide to Furniture Reupholstering Fabrics
